
Our Lunch On The Go: Japanese Onigiri
How many wonderful memories can be packed into something as simple as a rice ball?
Many! The first time I tasted onigiri was during my exchange studies in Japan. Back then, Japanese food culture was still new to me and I didn't know much about Japanese cuisine. Onigiri was always my favourite though, and I chose it almost every time I bought lunch from a convenience store. The rice stayed perfectly moist in its plastic wrap, and the tuna mayo filling inside made my taste buds dance with joy. And how fun it was to learn how to open the onigiri package correctly so the crispy seaweed wouldn't tear! Of course there were other flavour options too, and I had to try them all, but tuna was my favourite then, and it has remained my favourite to this day.
Since my older daughter was born in Japan, I got used to seeing Japanese moms bringing onigiris to every playdate. I naturally started making onigiri myself too and took them everywhere as a lunch on the go.
My best onigiri memories are of picnics and day trips together with children. Kids were always so happy to eat them. Once, when we had a party in our huge London house, the whole group of Japanese mothers from our children's nursery made onigiri together. It was so much fun. Making onigiri is relaxing, and it can be good connection time with other moms.
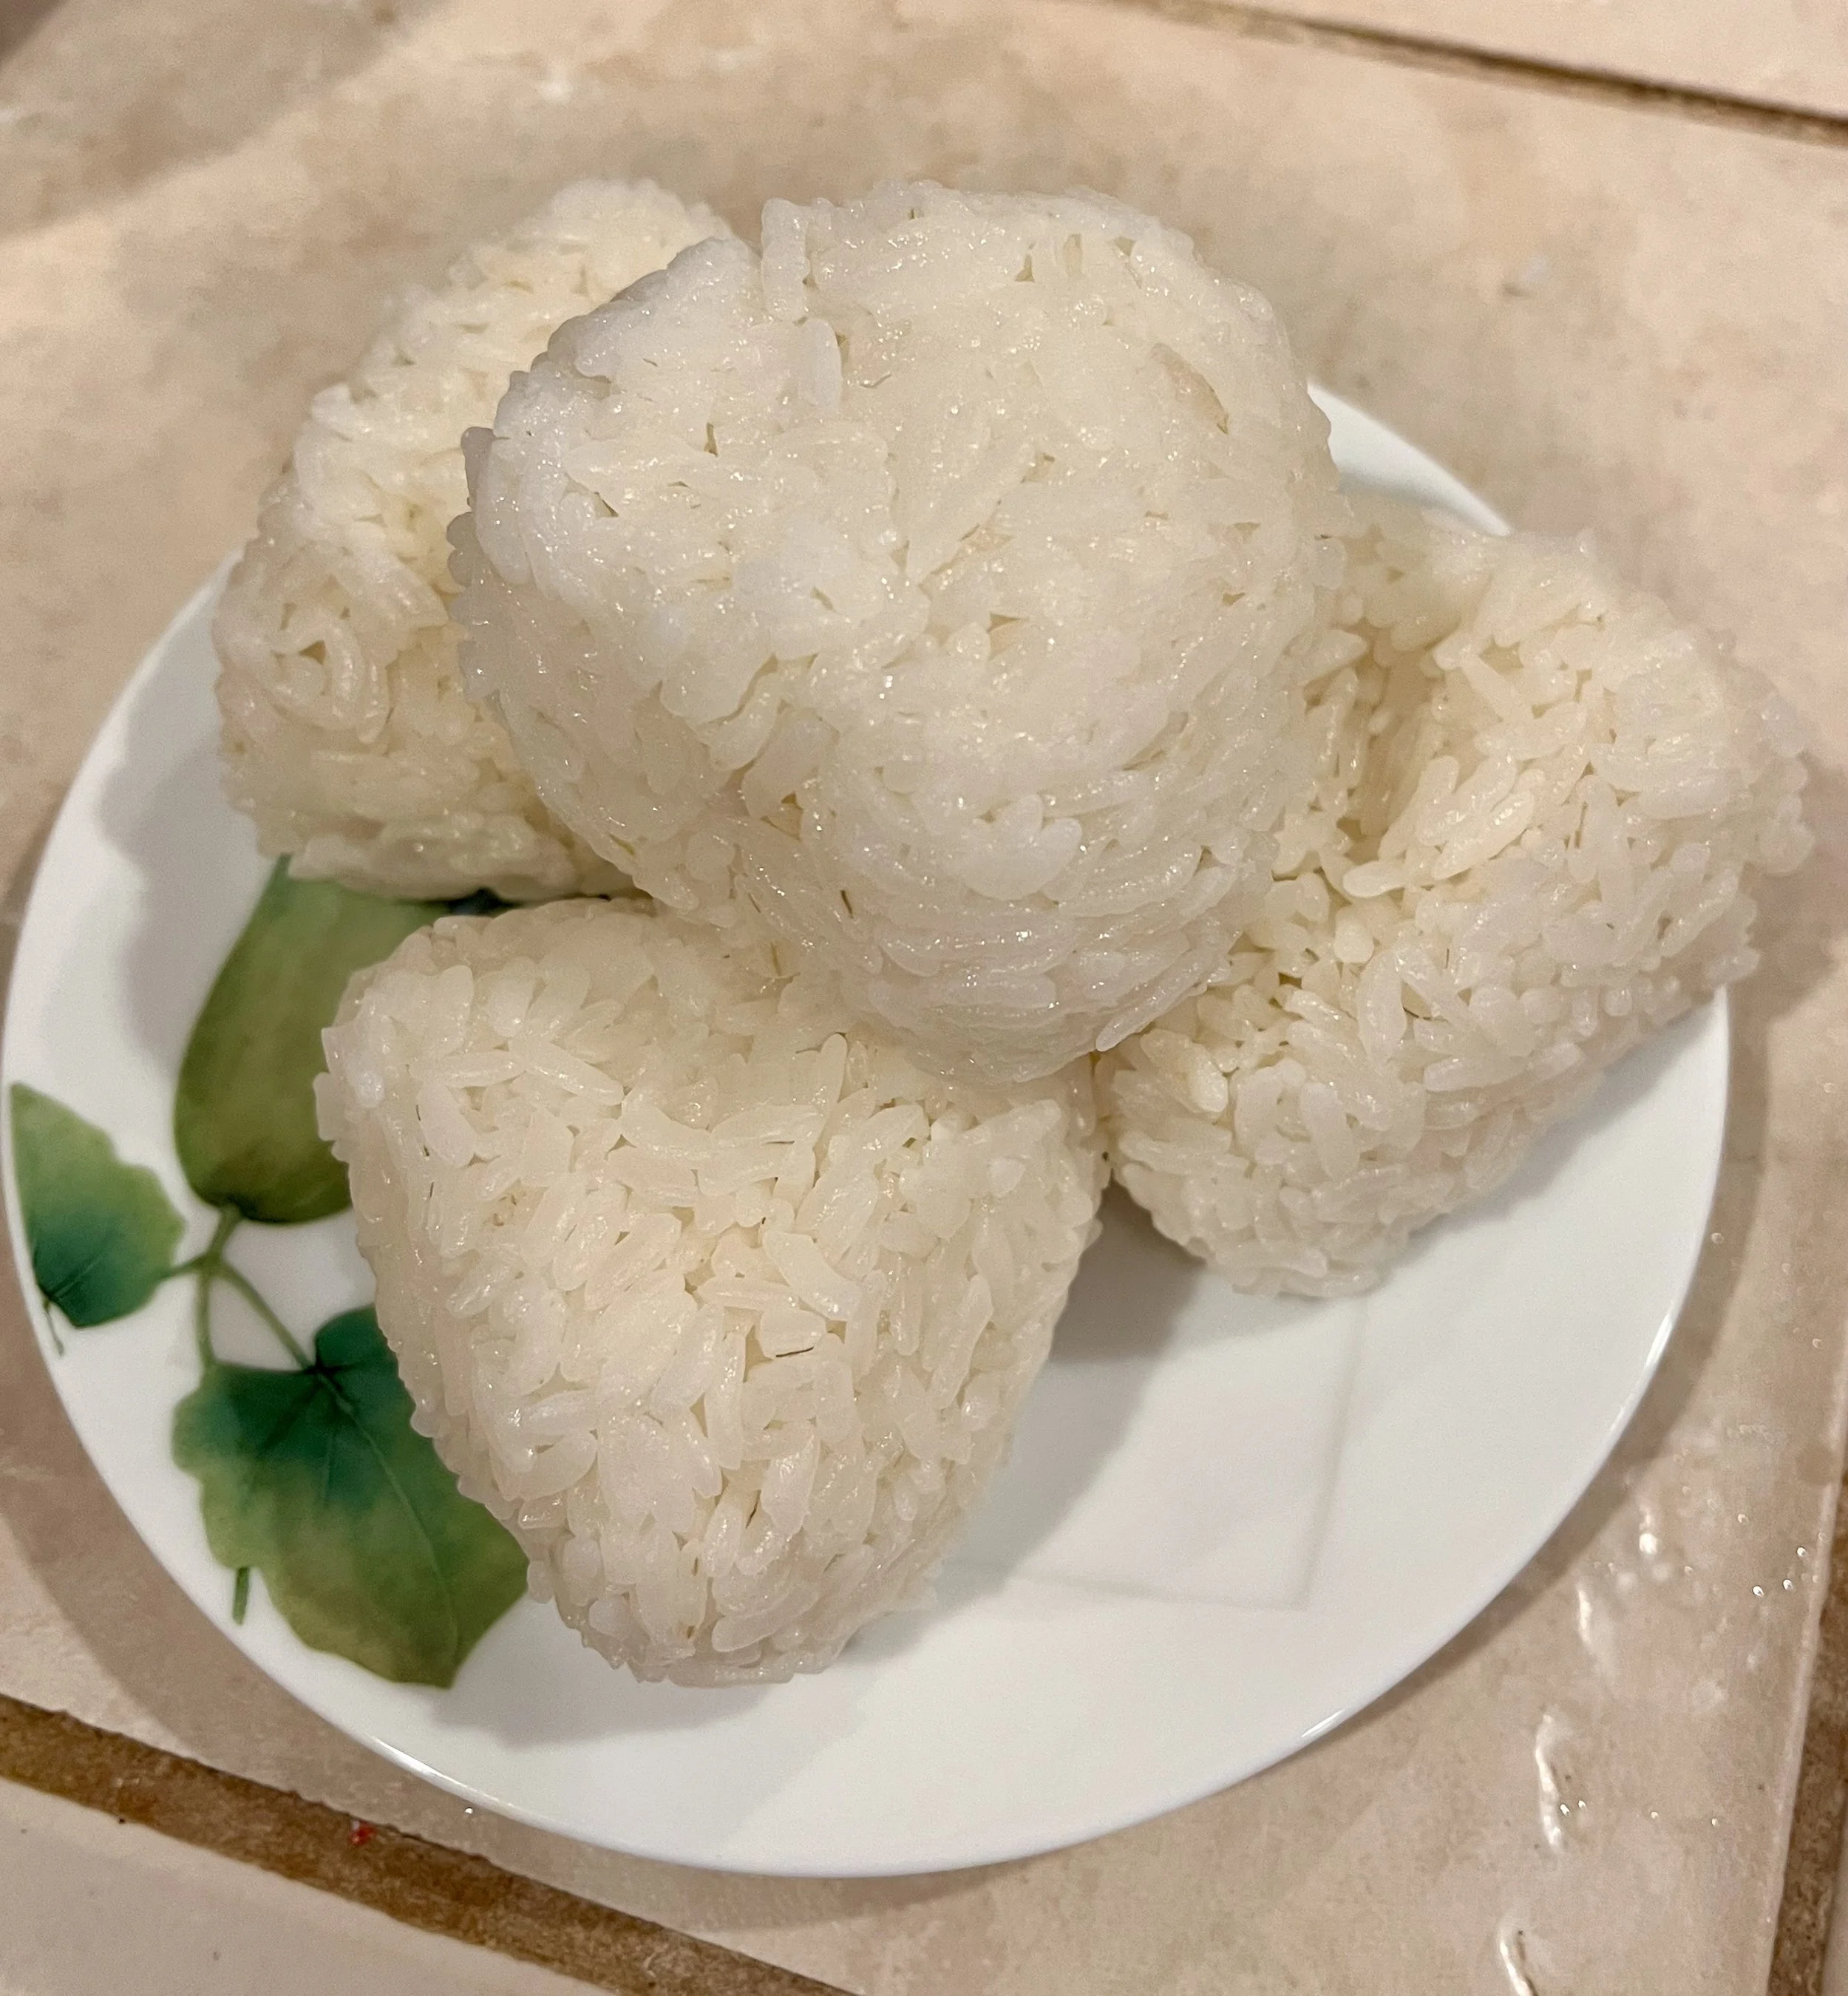
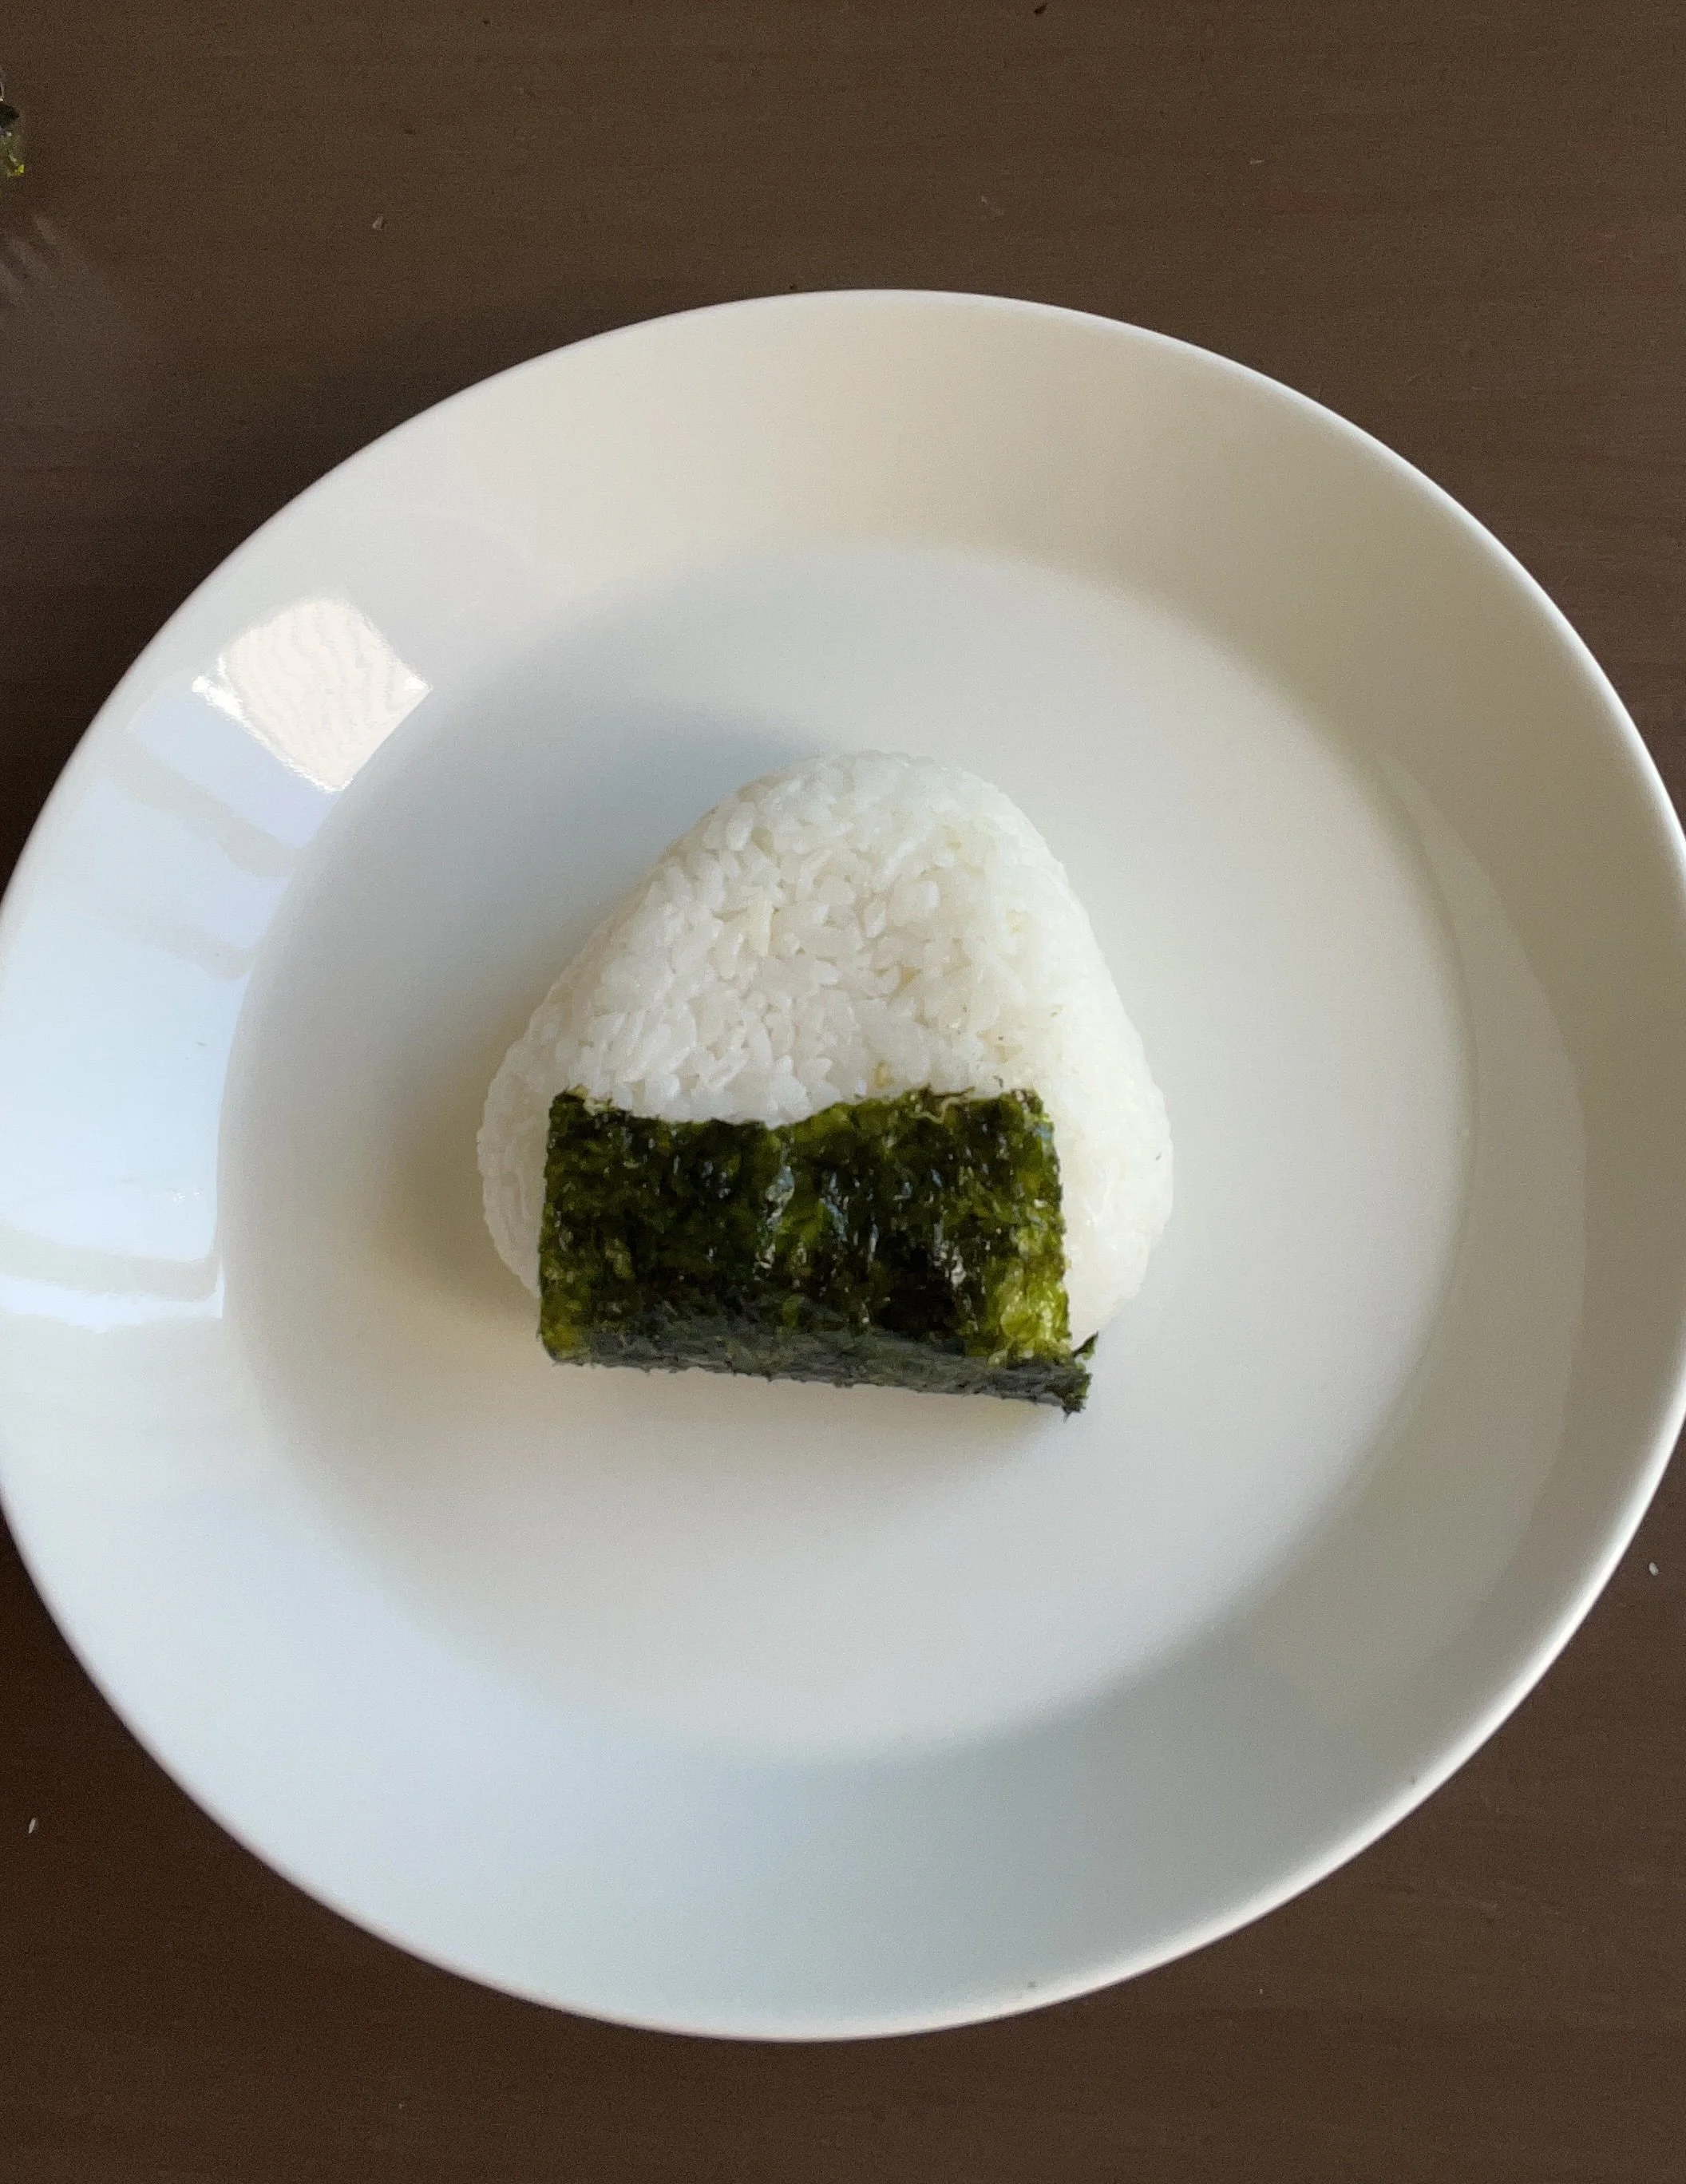
Most often though, I've made onigiri as a packed lunch when we've gone on a day trip or just to the park to play as a family. All you need is sticky rice (preferably Japanese short-grain). For filling, tuna and mayonnaise work beautifully -Japanese Kewpie mayo is the best- or salmon, which is my children's and husband's favourite. Japanese parents often make rice balls for their children without any filling or seaweed at all, so plain rice already goes a long way. Finally, the nori seaweed is wrapped around the triangle-shaped onigiri either on one side or all three sides. Alternatively you can sprinkle sesame seeds on top instead.
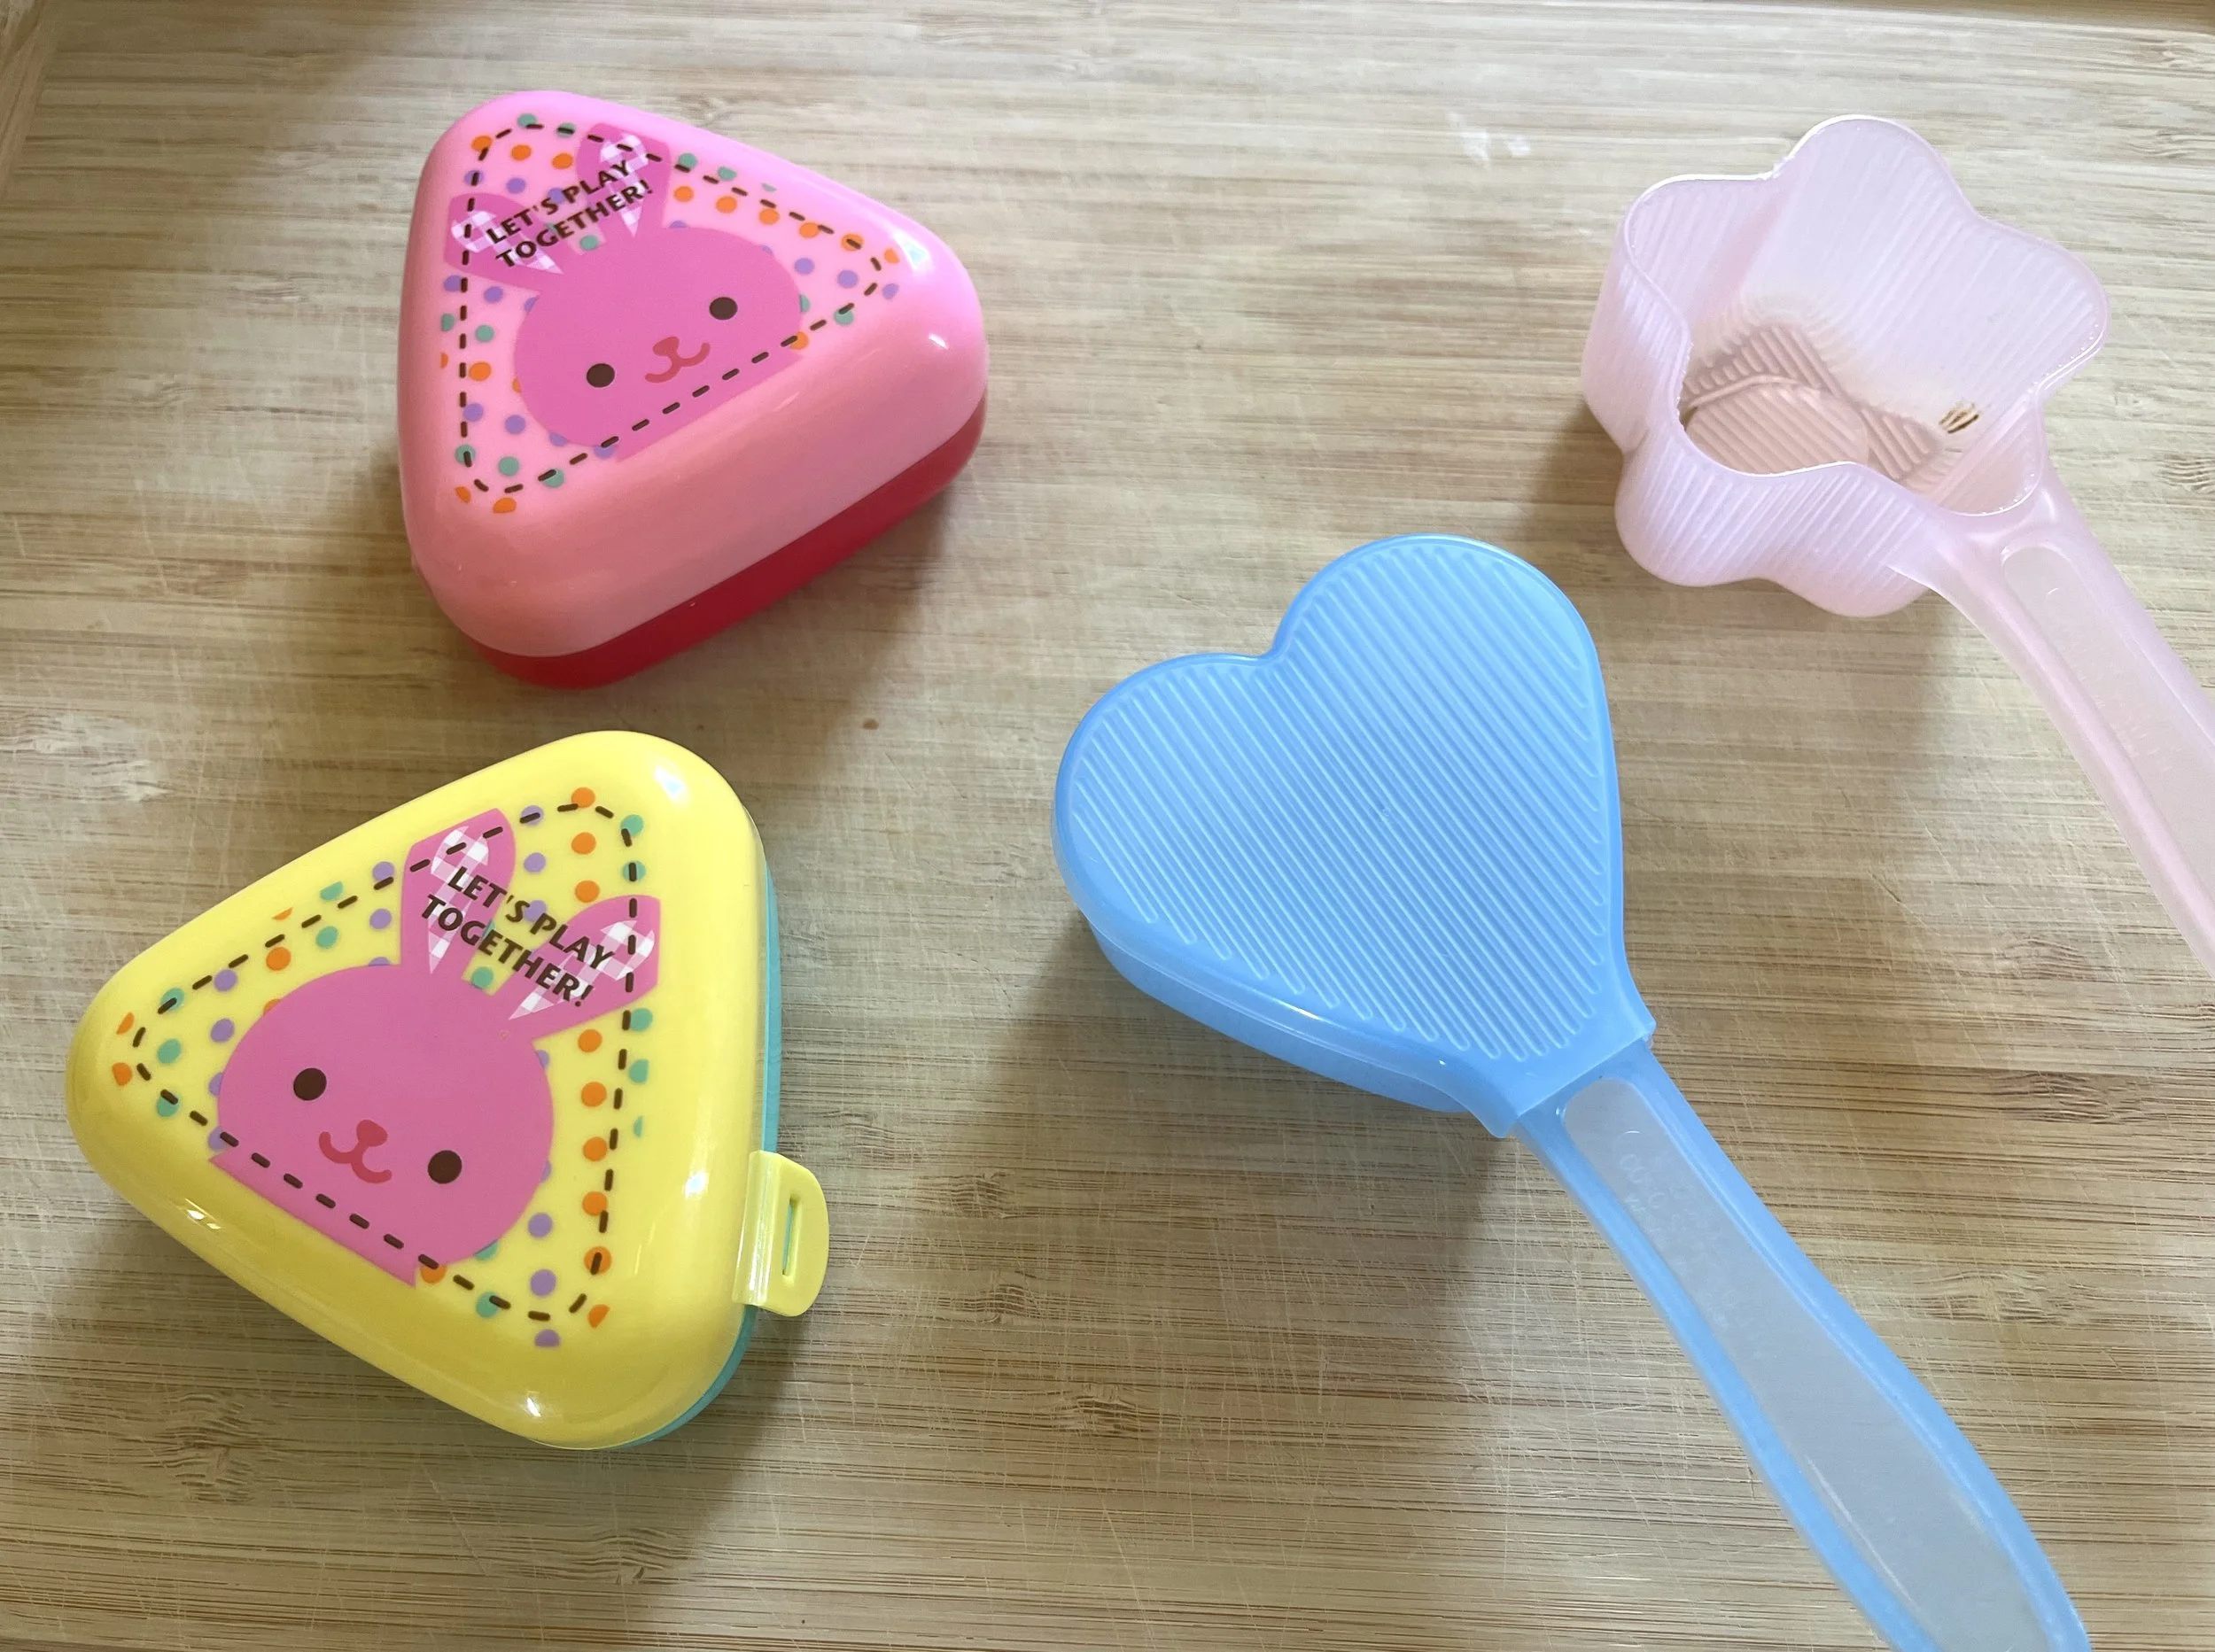
There are all kinds of molds available for making onigiri.
The most reliable method, however, is shaping the rice by hand, as it holds together better that way and is less likely to fall apart. The rice really needs to be pressed into shape very firmly.
How to make onigiri:
Ingredients:
Japanese sticky rice
nori (seaweed) sheets approximately 4” × 2.5”
tuna and mayonnaise or salmon
salt
sesame seeds or furikake
Shaping a round onigiri:
Wet your hands and sprinkle a little salt on them. This adds flavour to the onigiri and keeps the rice from sticking to your hands.
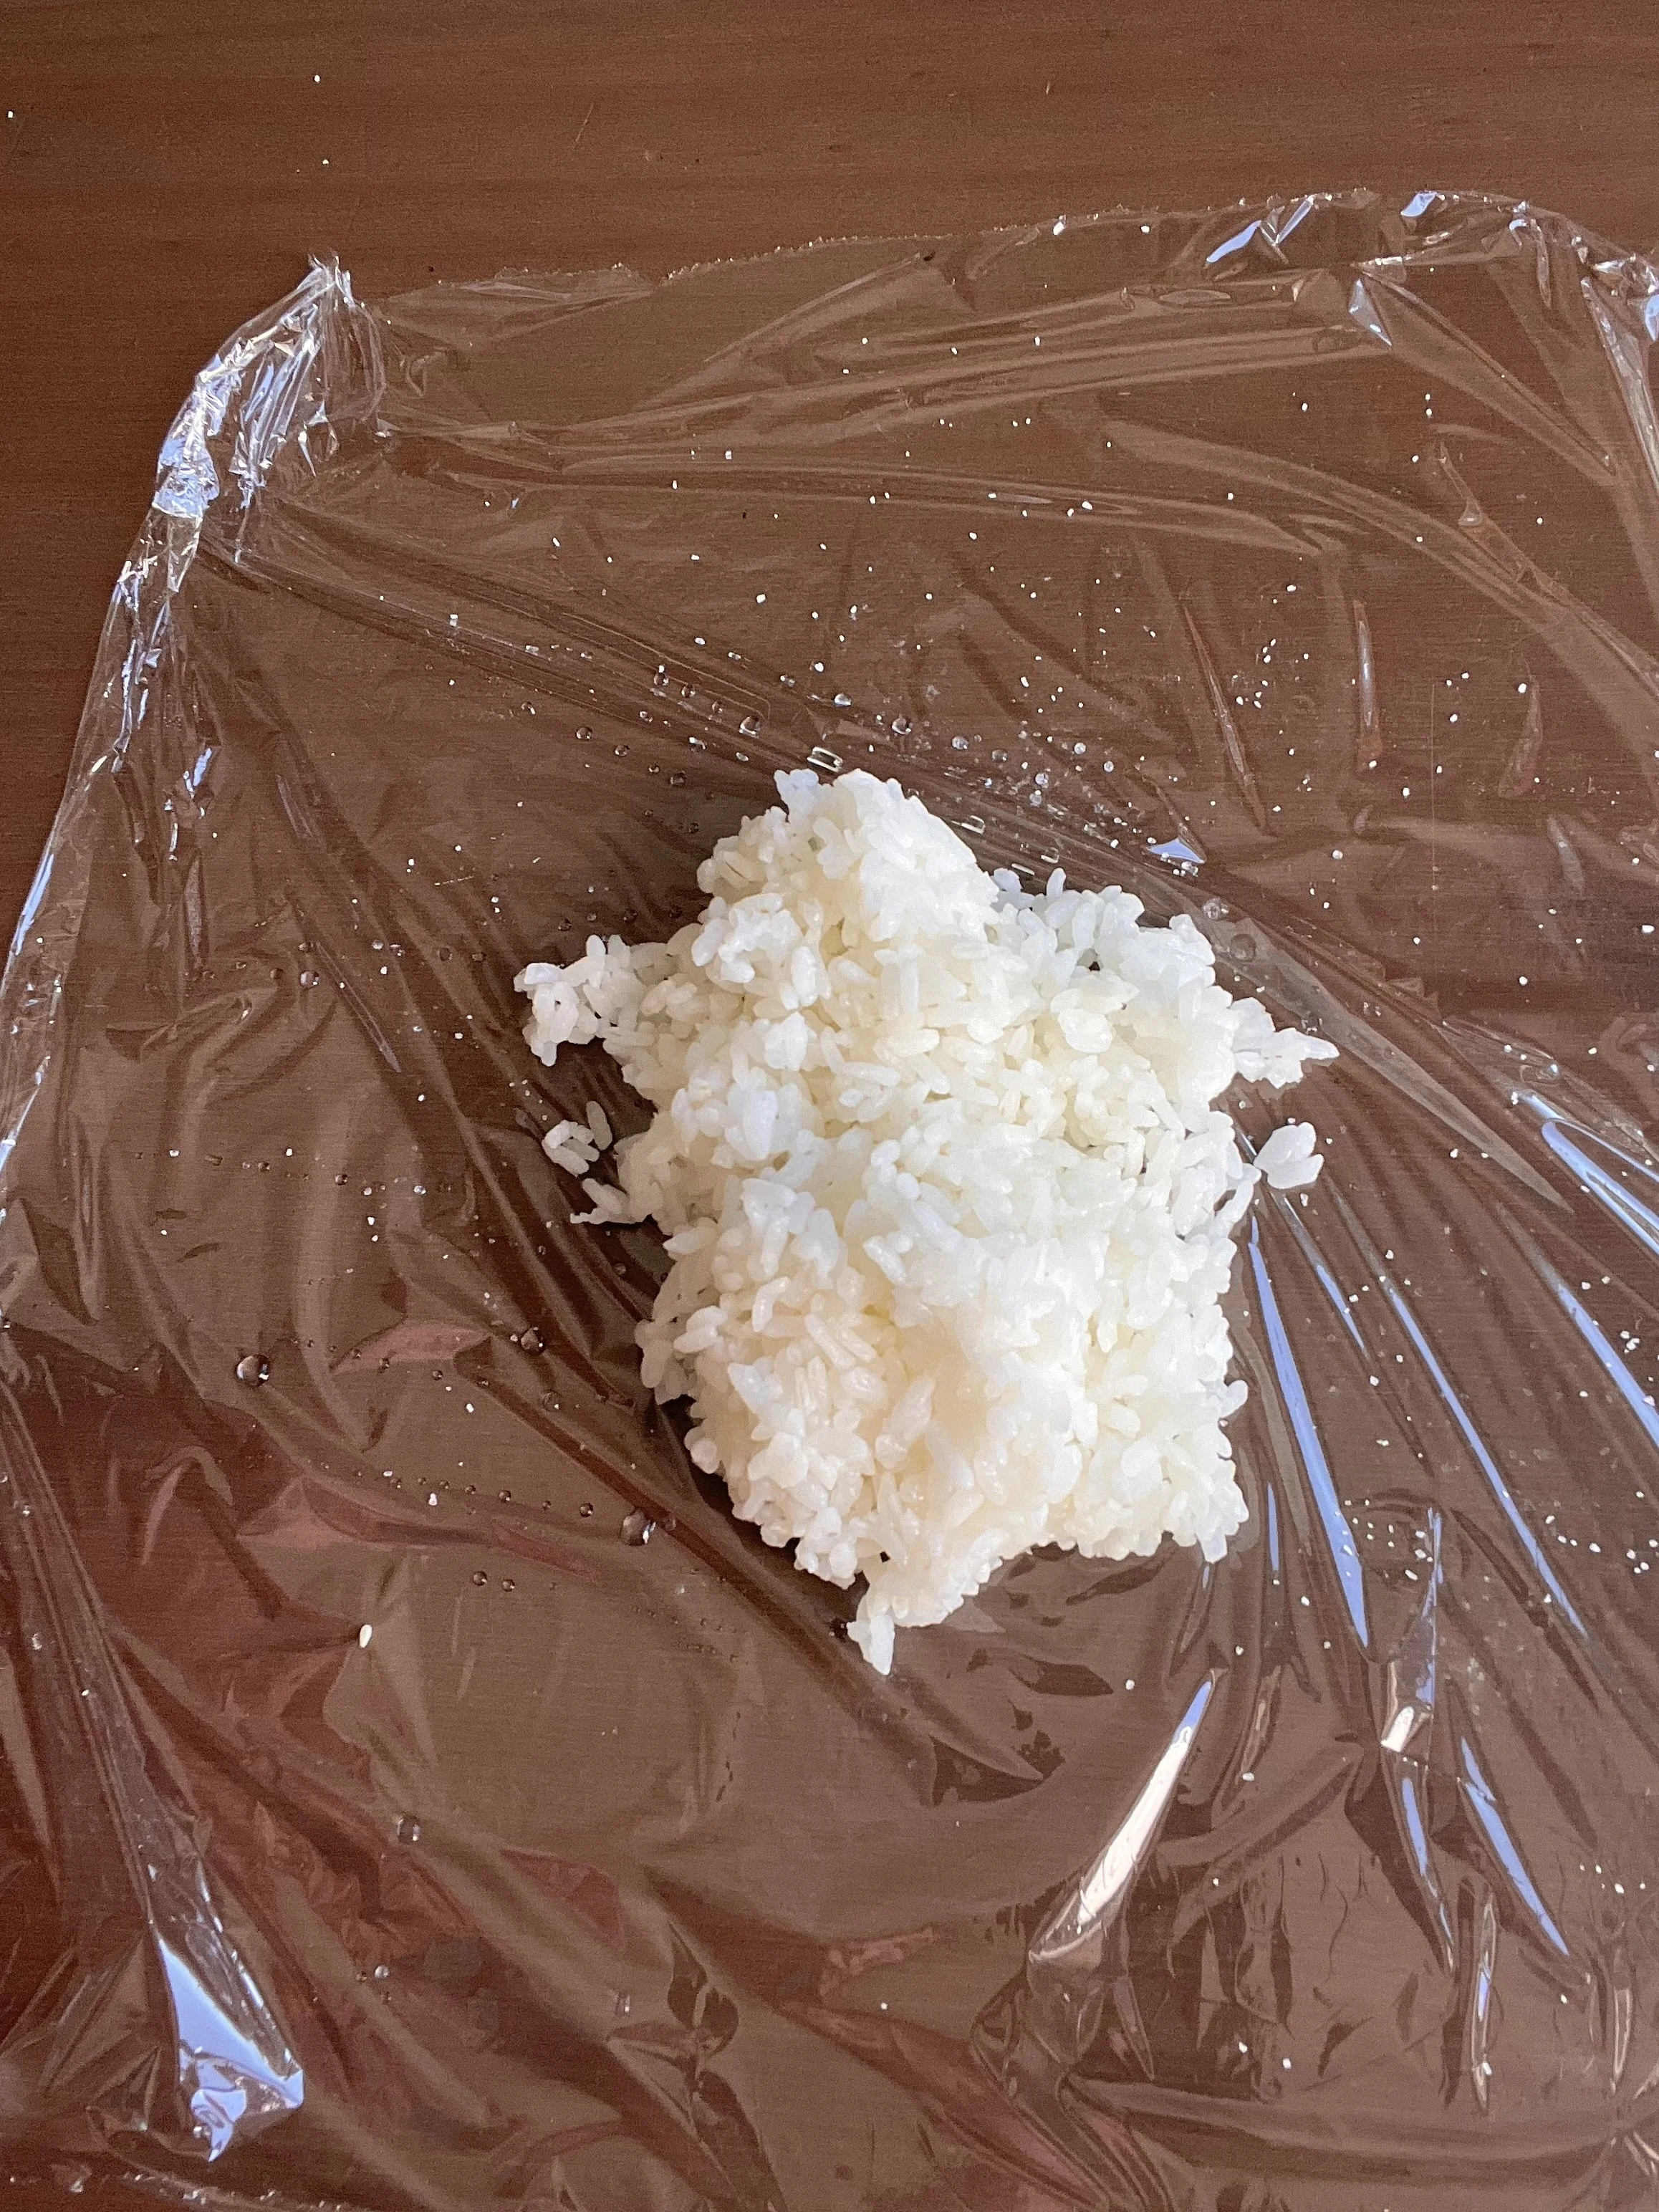
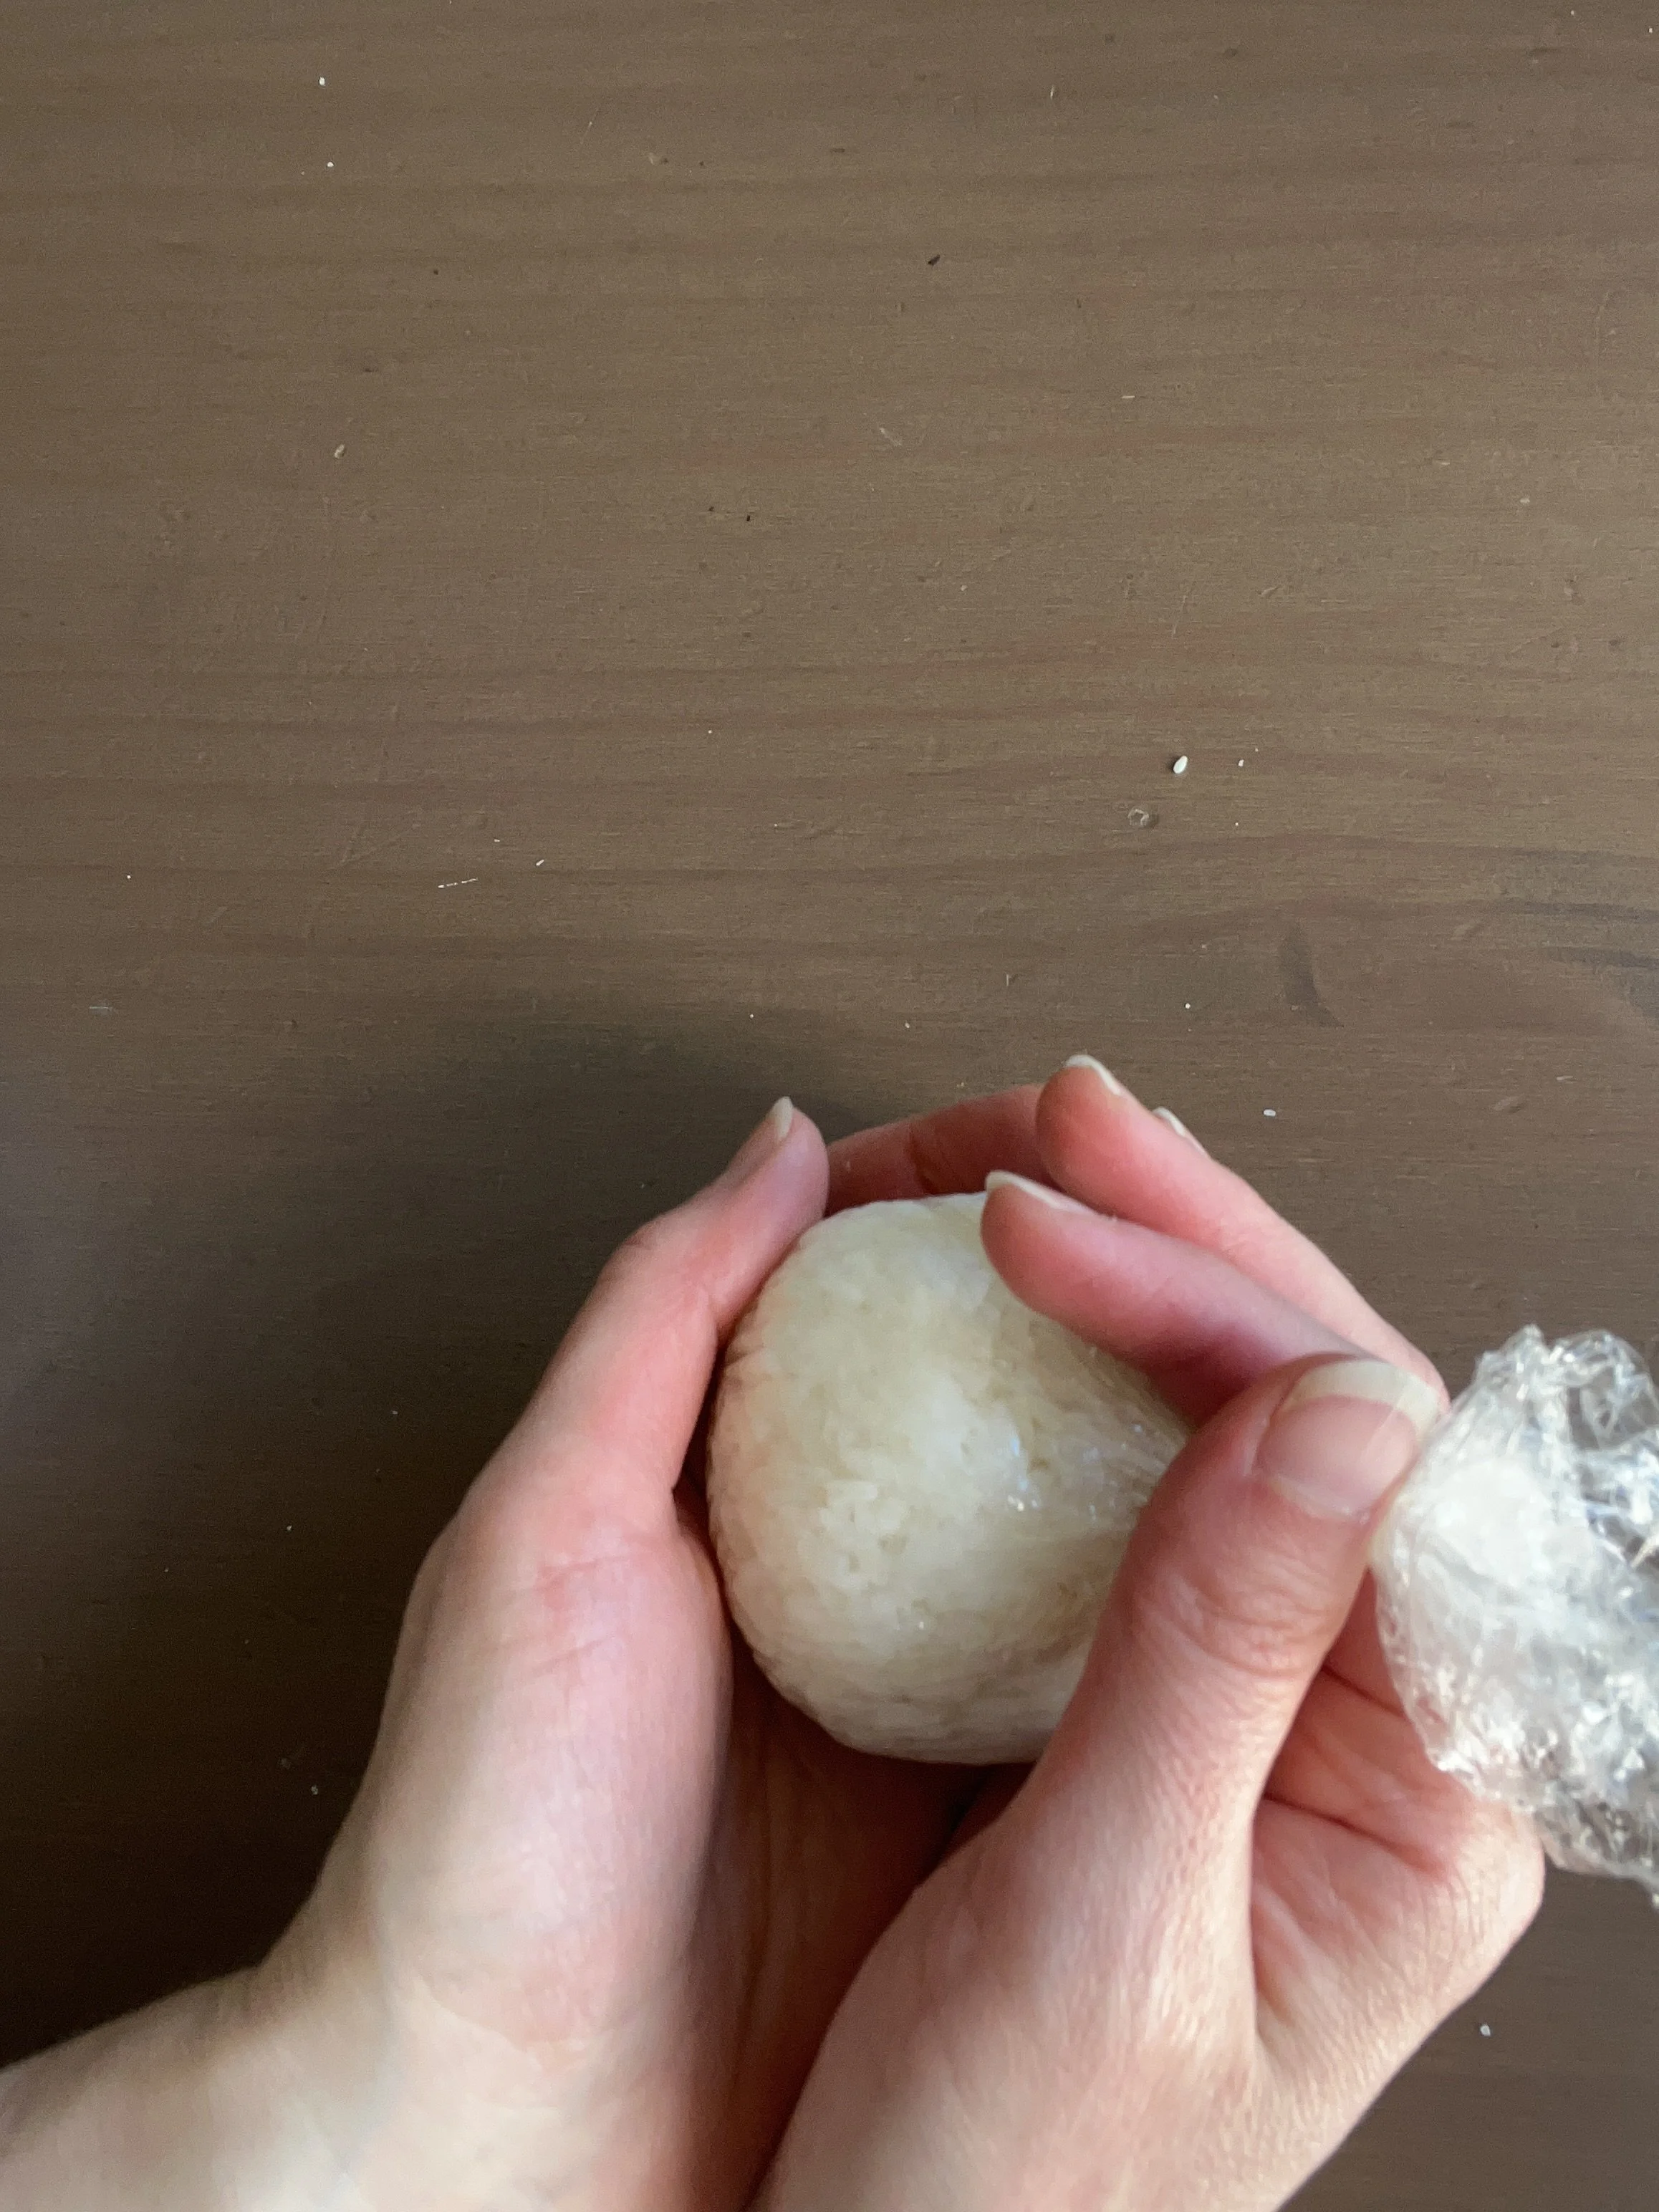
Take some freshly cooked, slightly cooled Japanese rice in your hands and press it into a ball. Keep going until the ball holds together well and doesn't crumble. A diameter of about two inches makes a nicely sized ball.
Once the ball is ready, you can roll it in sesame seeds.
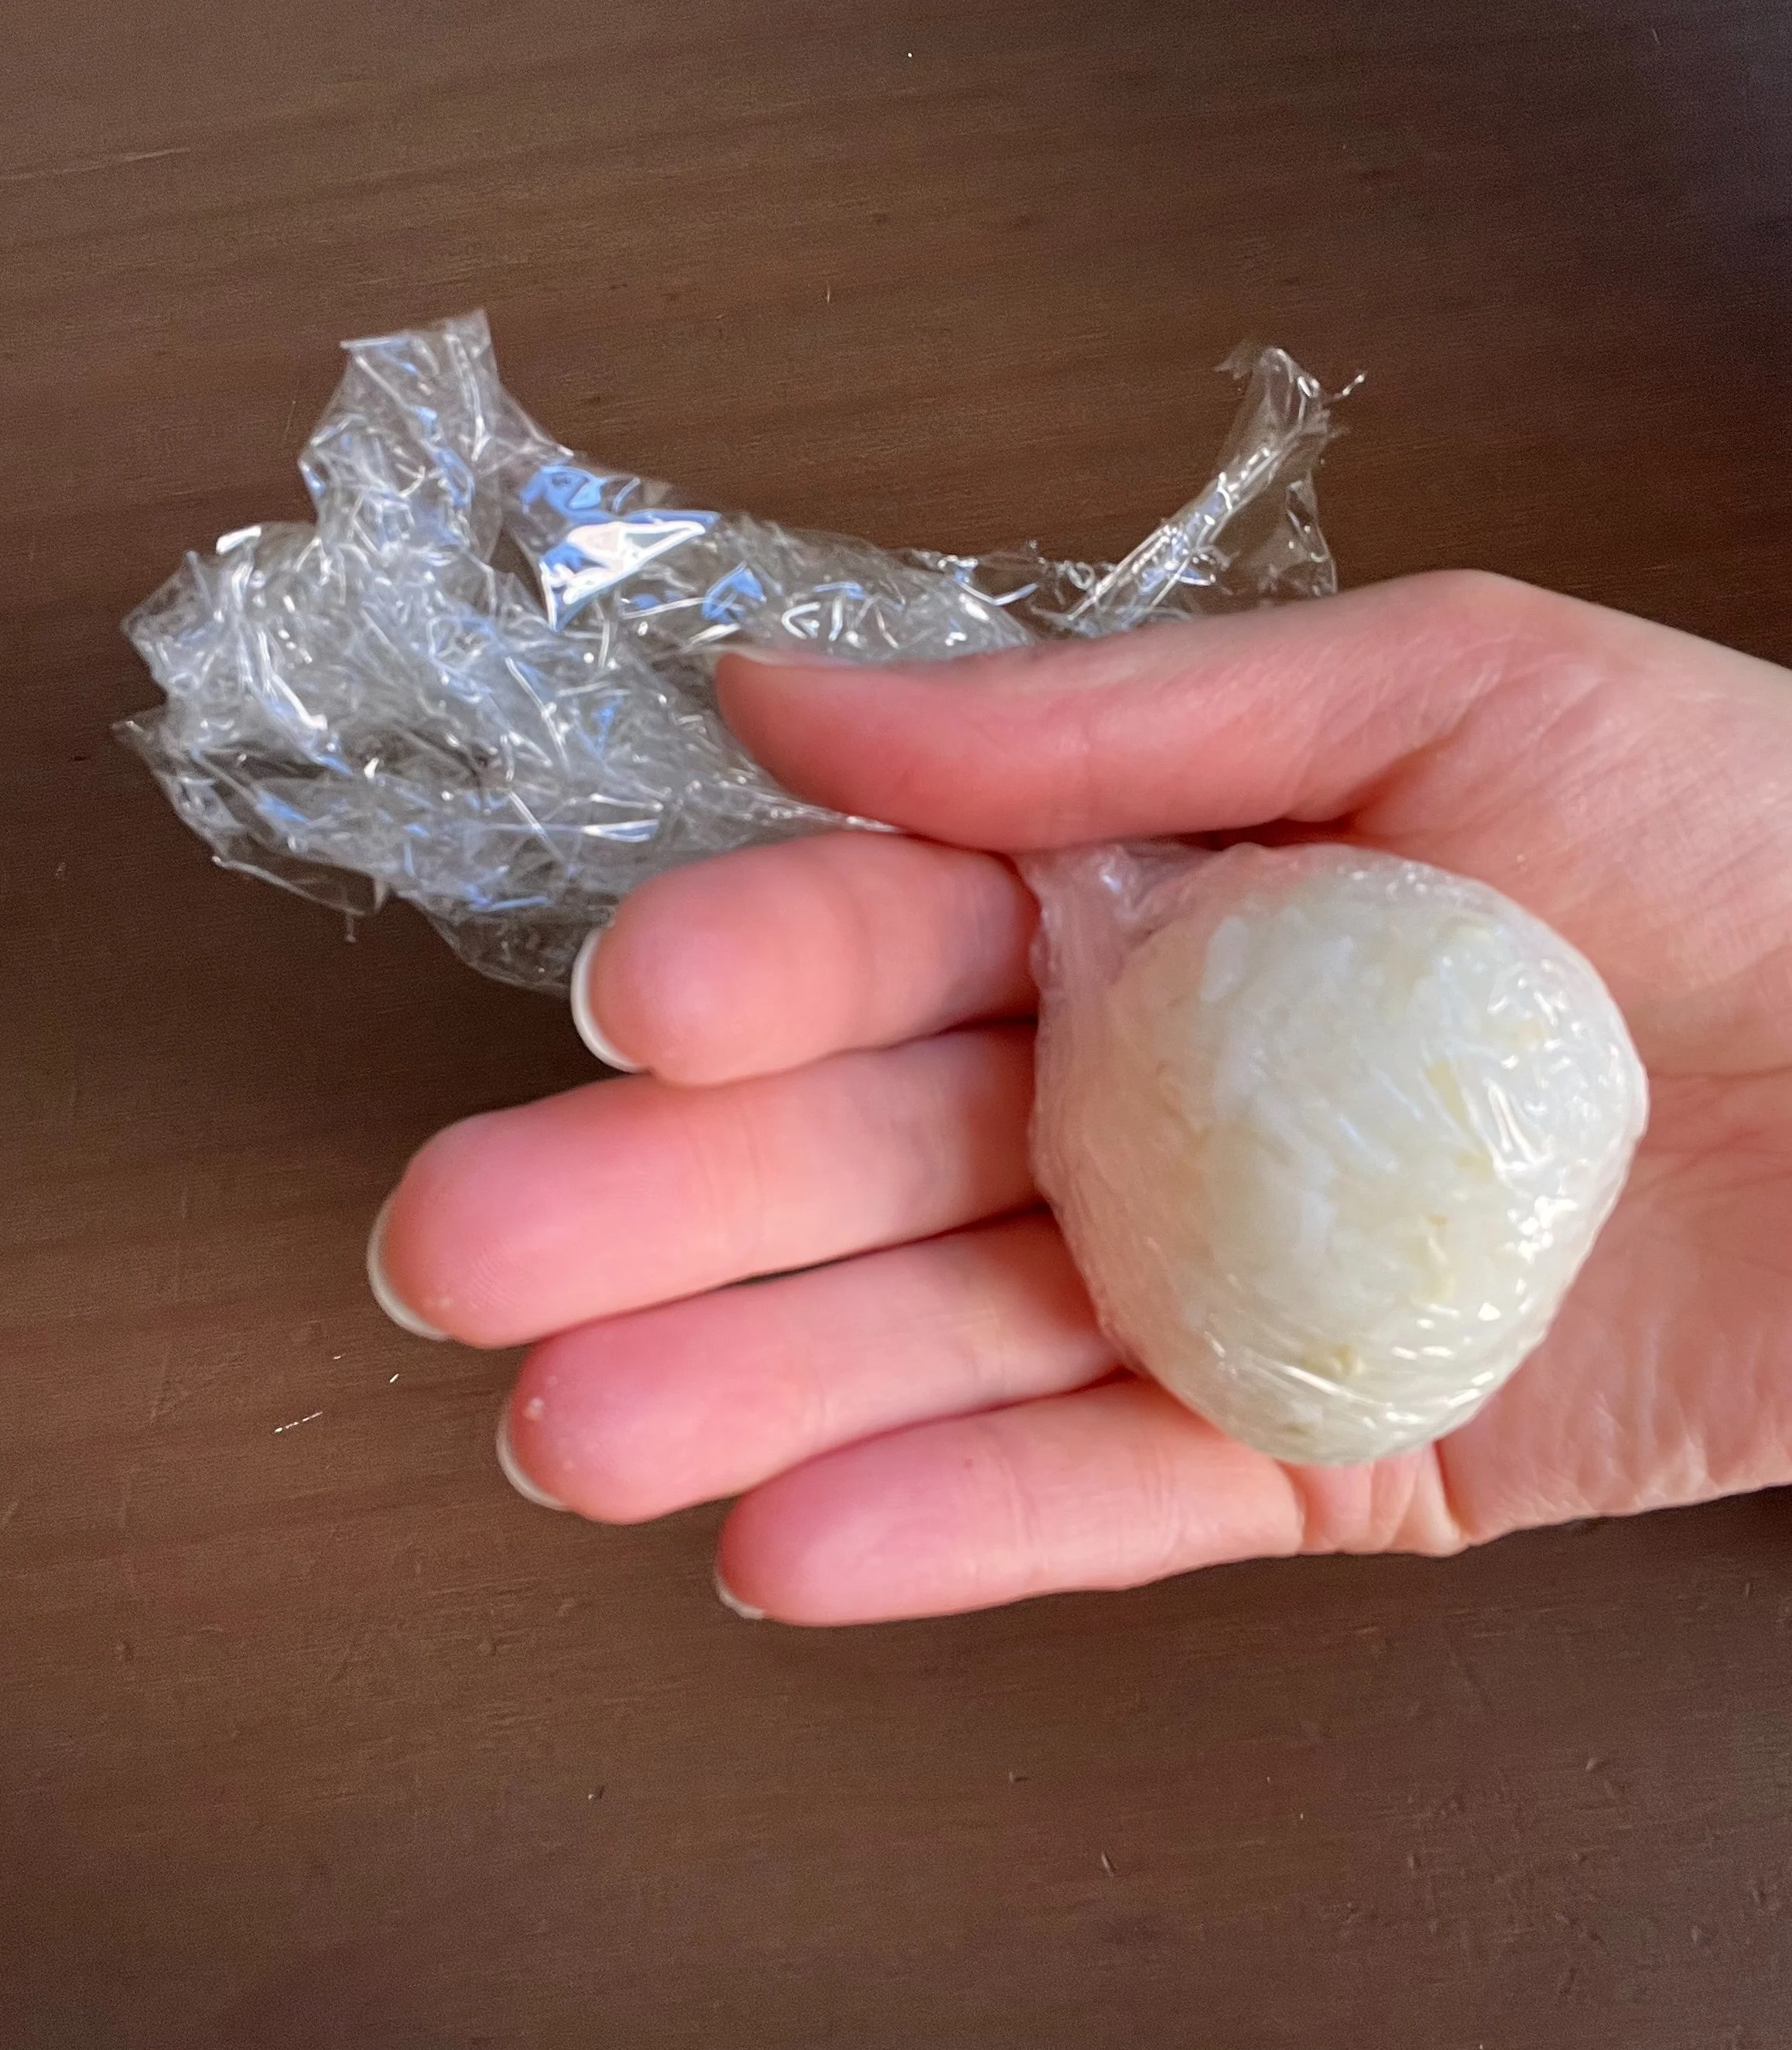
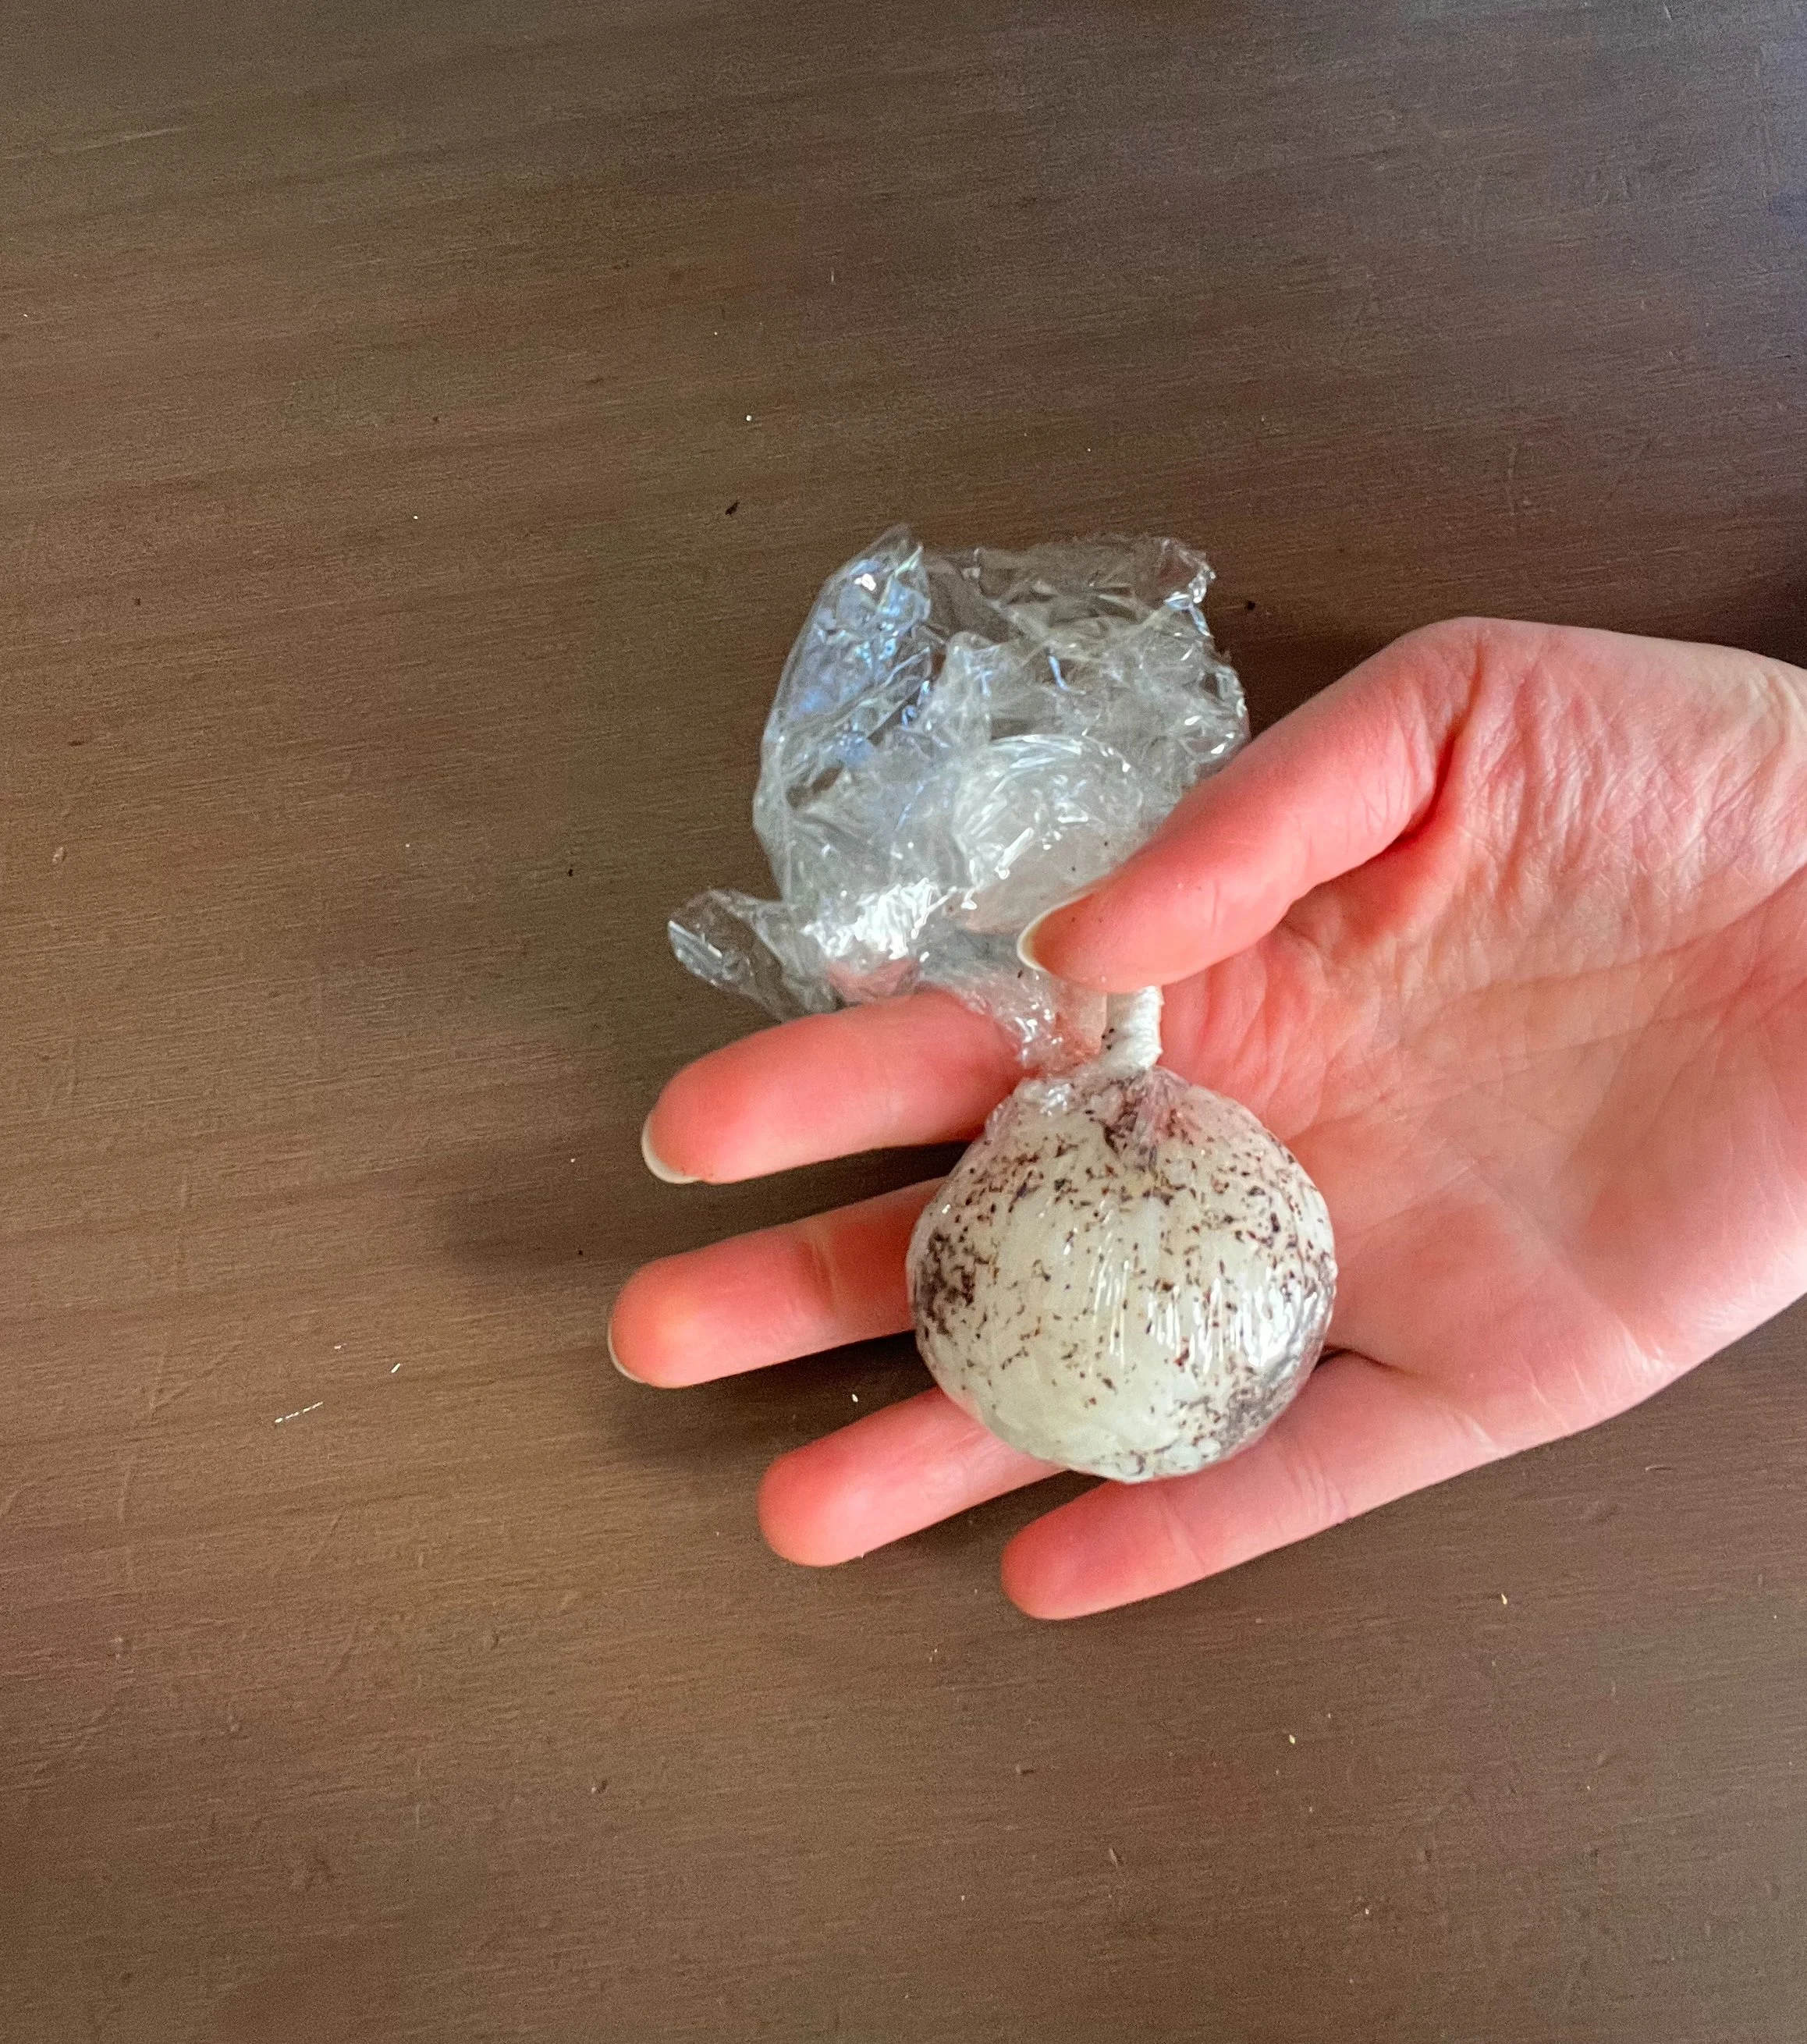
If shaping by hand feels tricky, you can use cling film to help. In that case it's important that the rice has cooled down. Place a big scoop of rice in the centre of a square piece of dampened cling film and bring the corners together. Twist the corners so there are no gaps and no air left inside. Now you can shape the rice into either a triangle or a ball You can even add furikake, Japanese seasoning blend, to the cling wrap if you like.
Shaping a triangular onigiri using cling film:
Place a scoop of freshly cooked, cooled down Japanese rice onto a dampened square piece of cling film. Bring the corners together and twist them closed as described above.
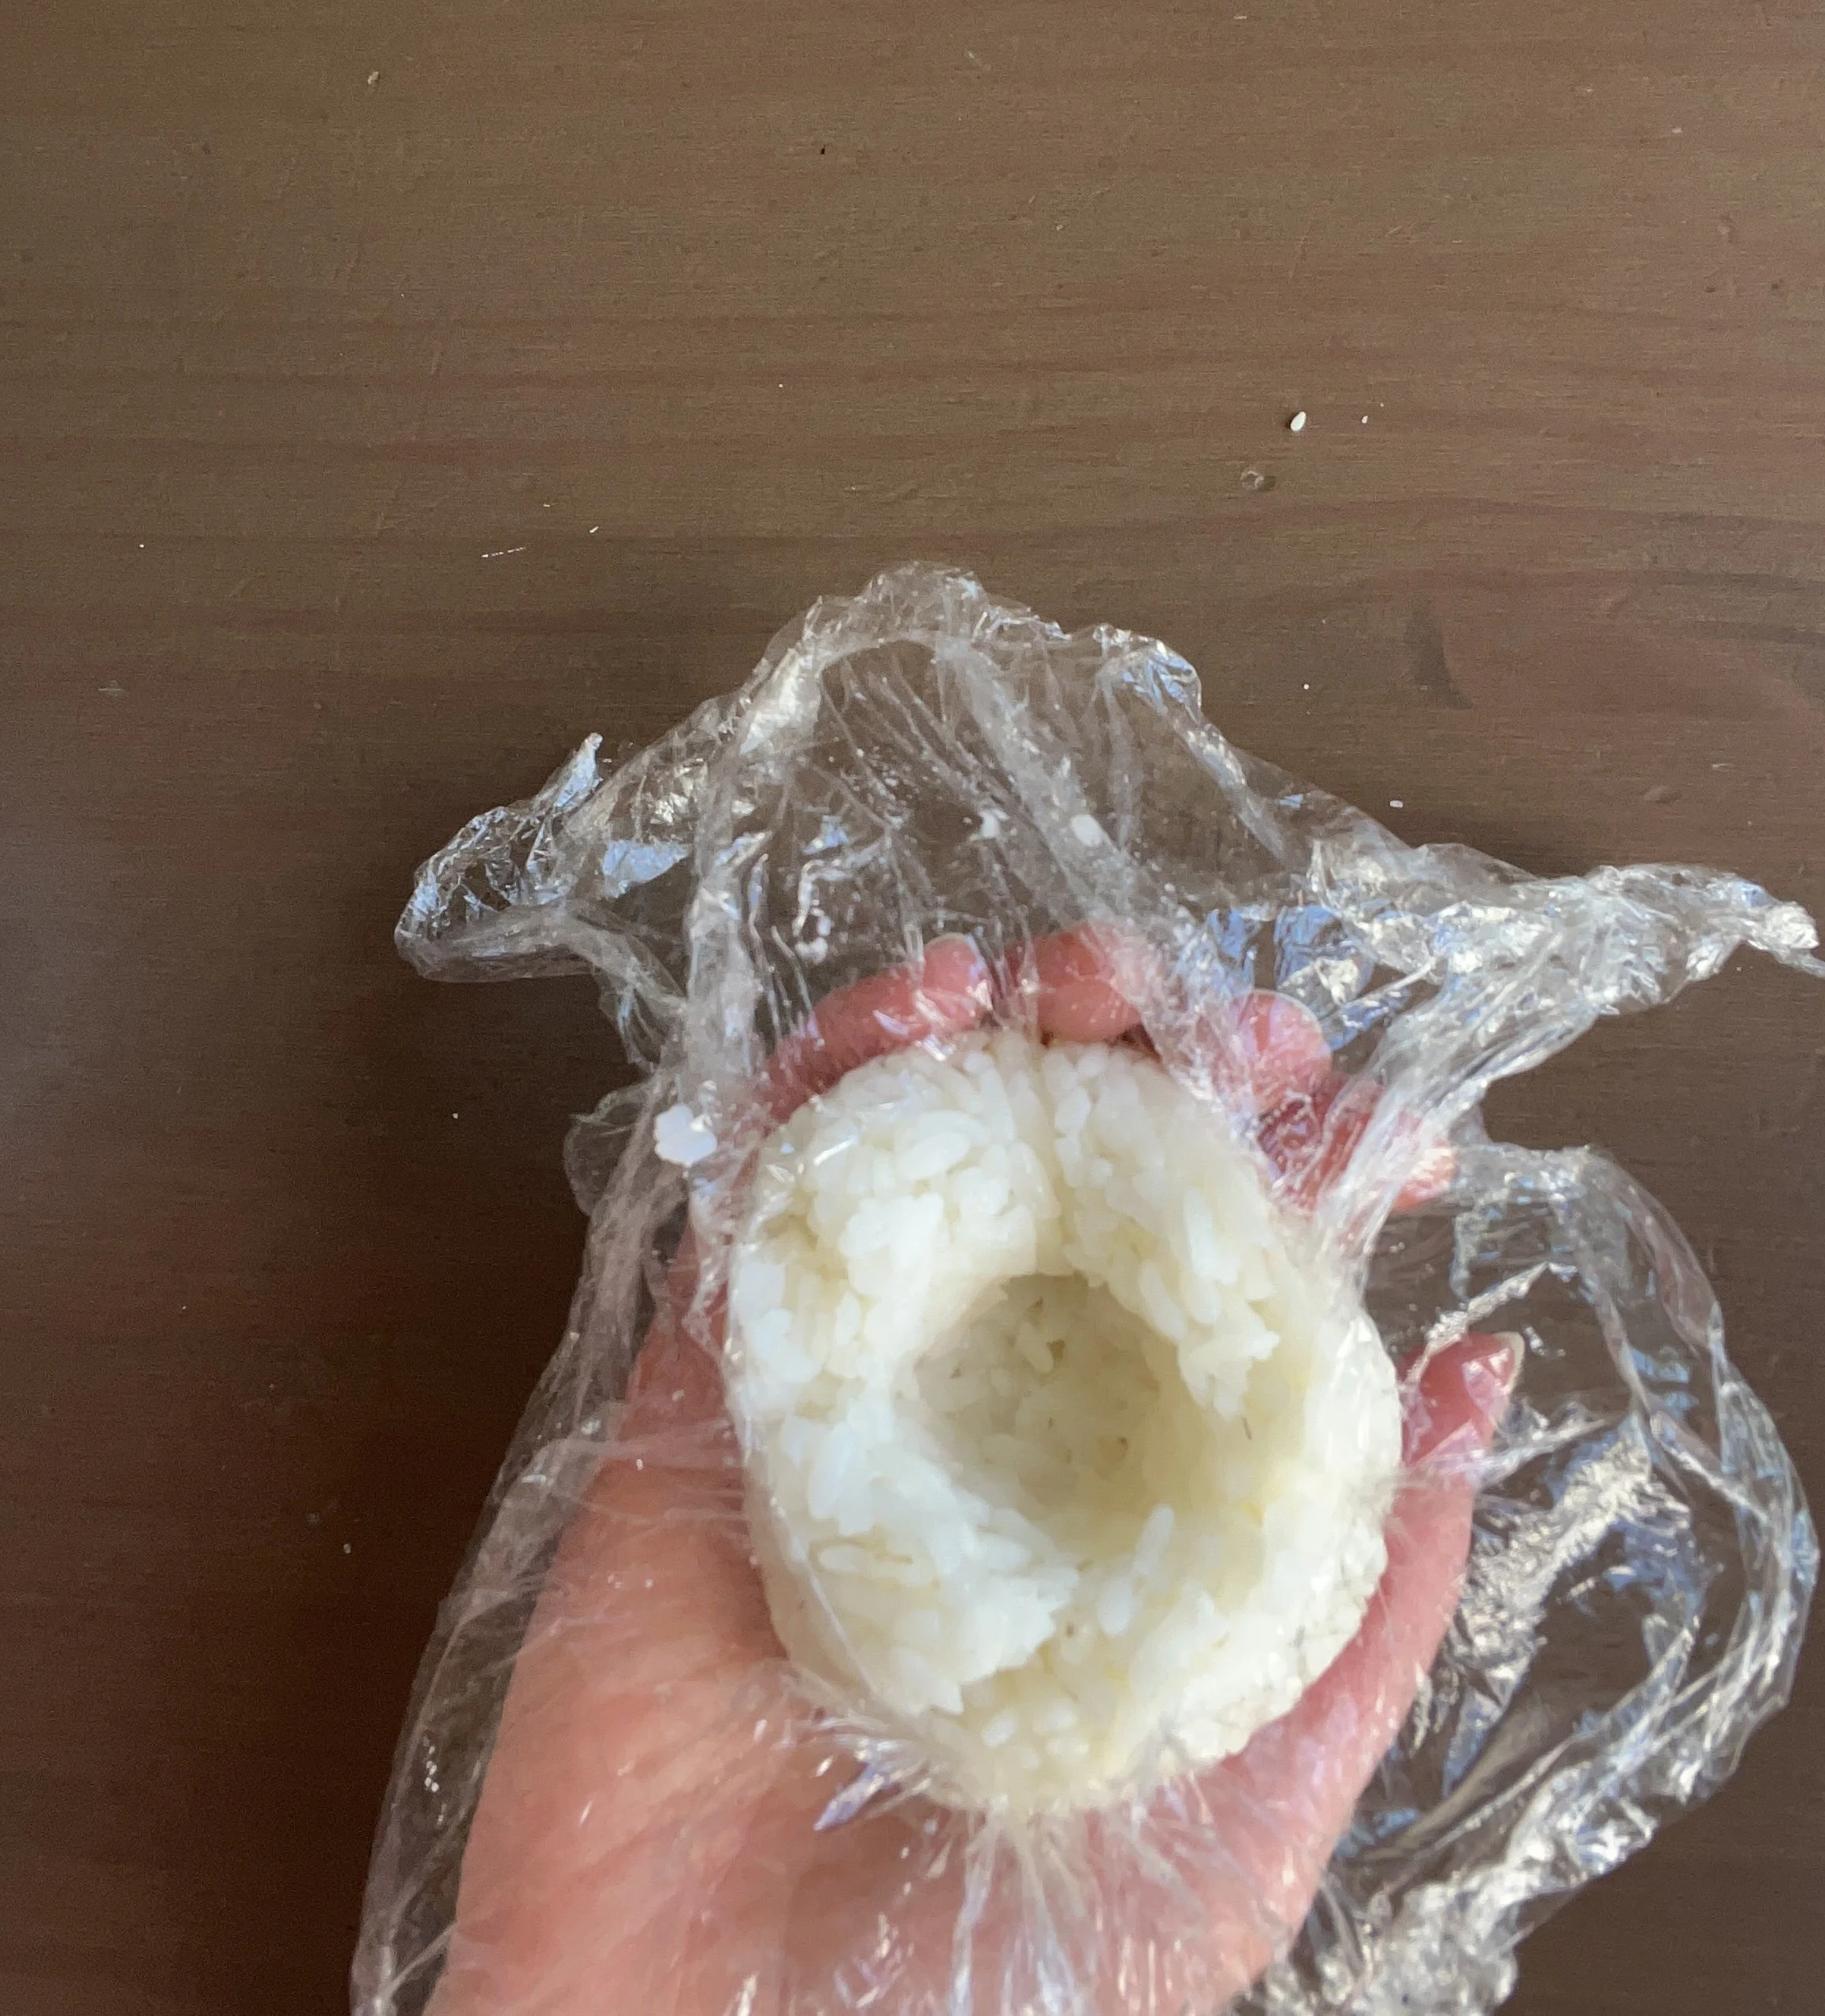
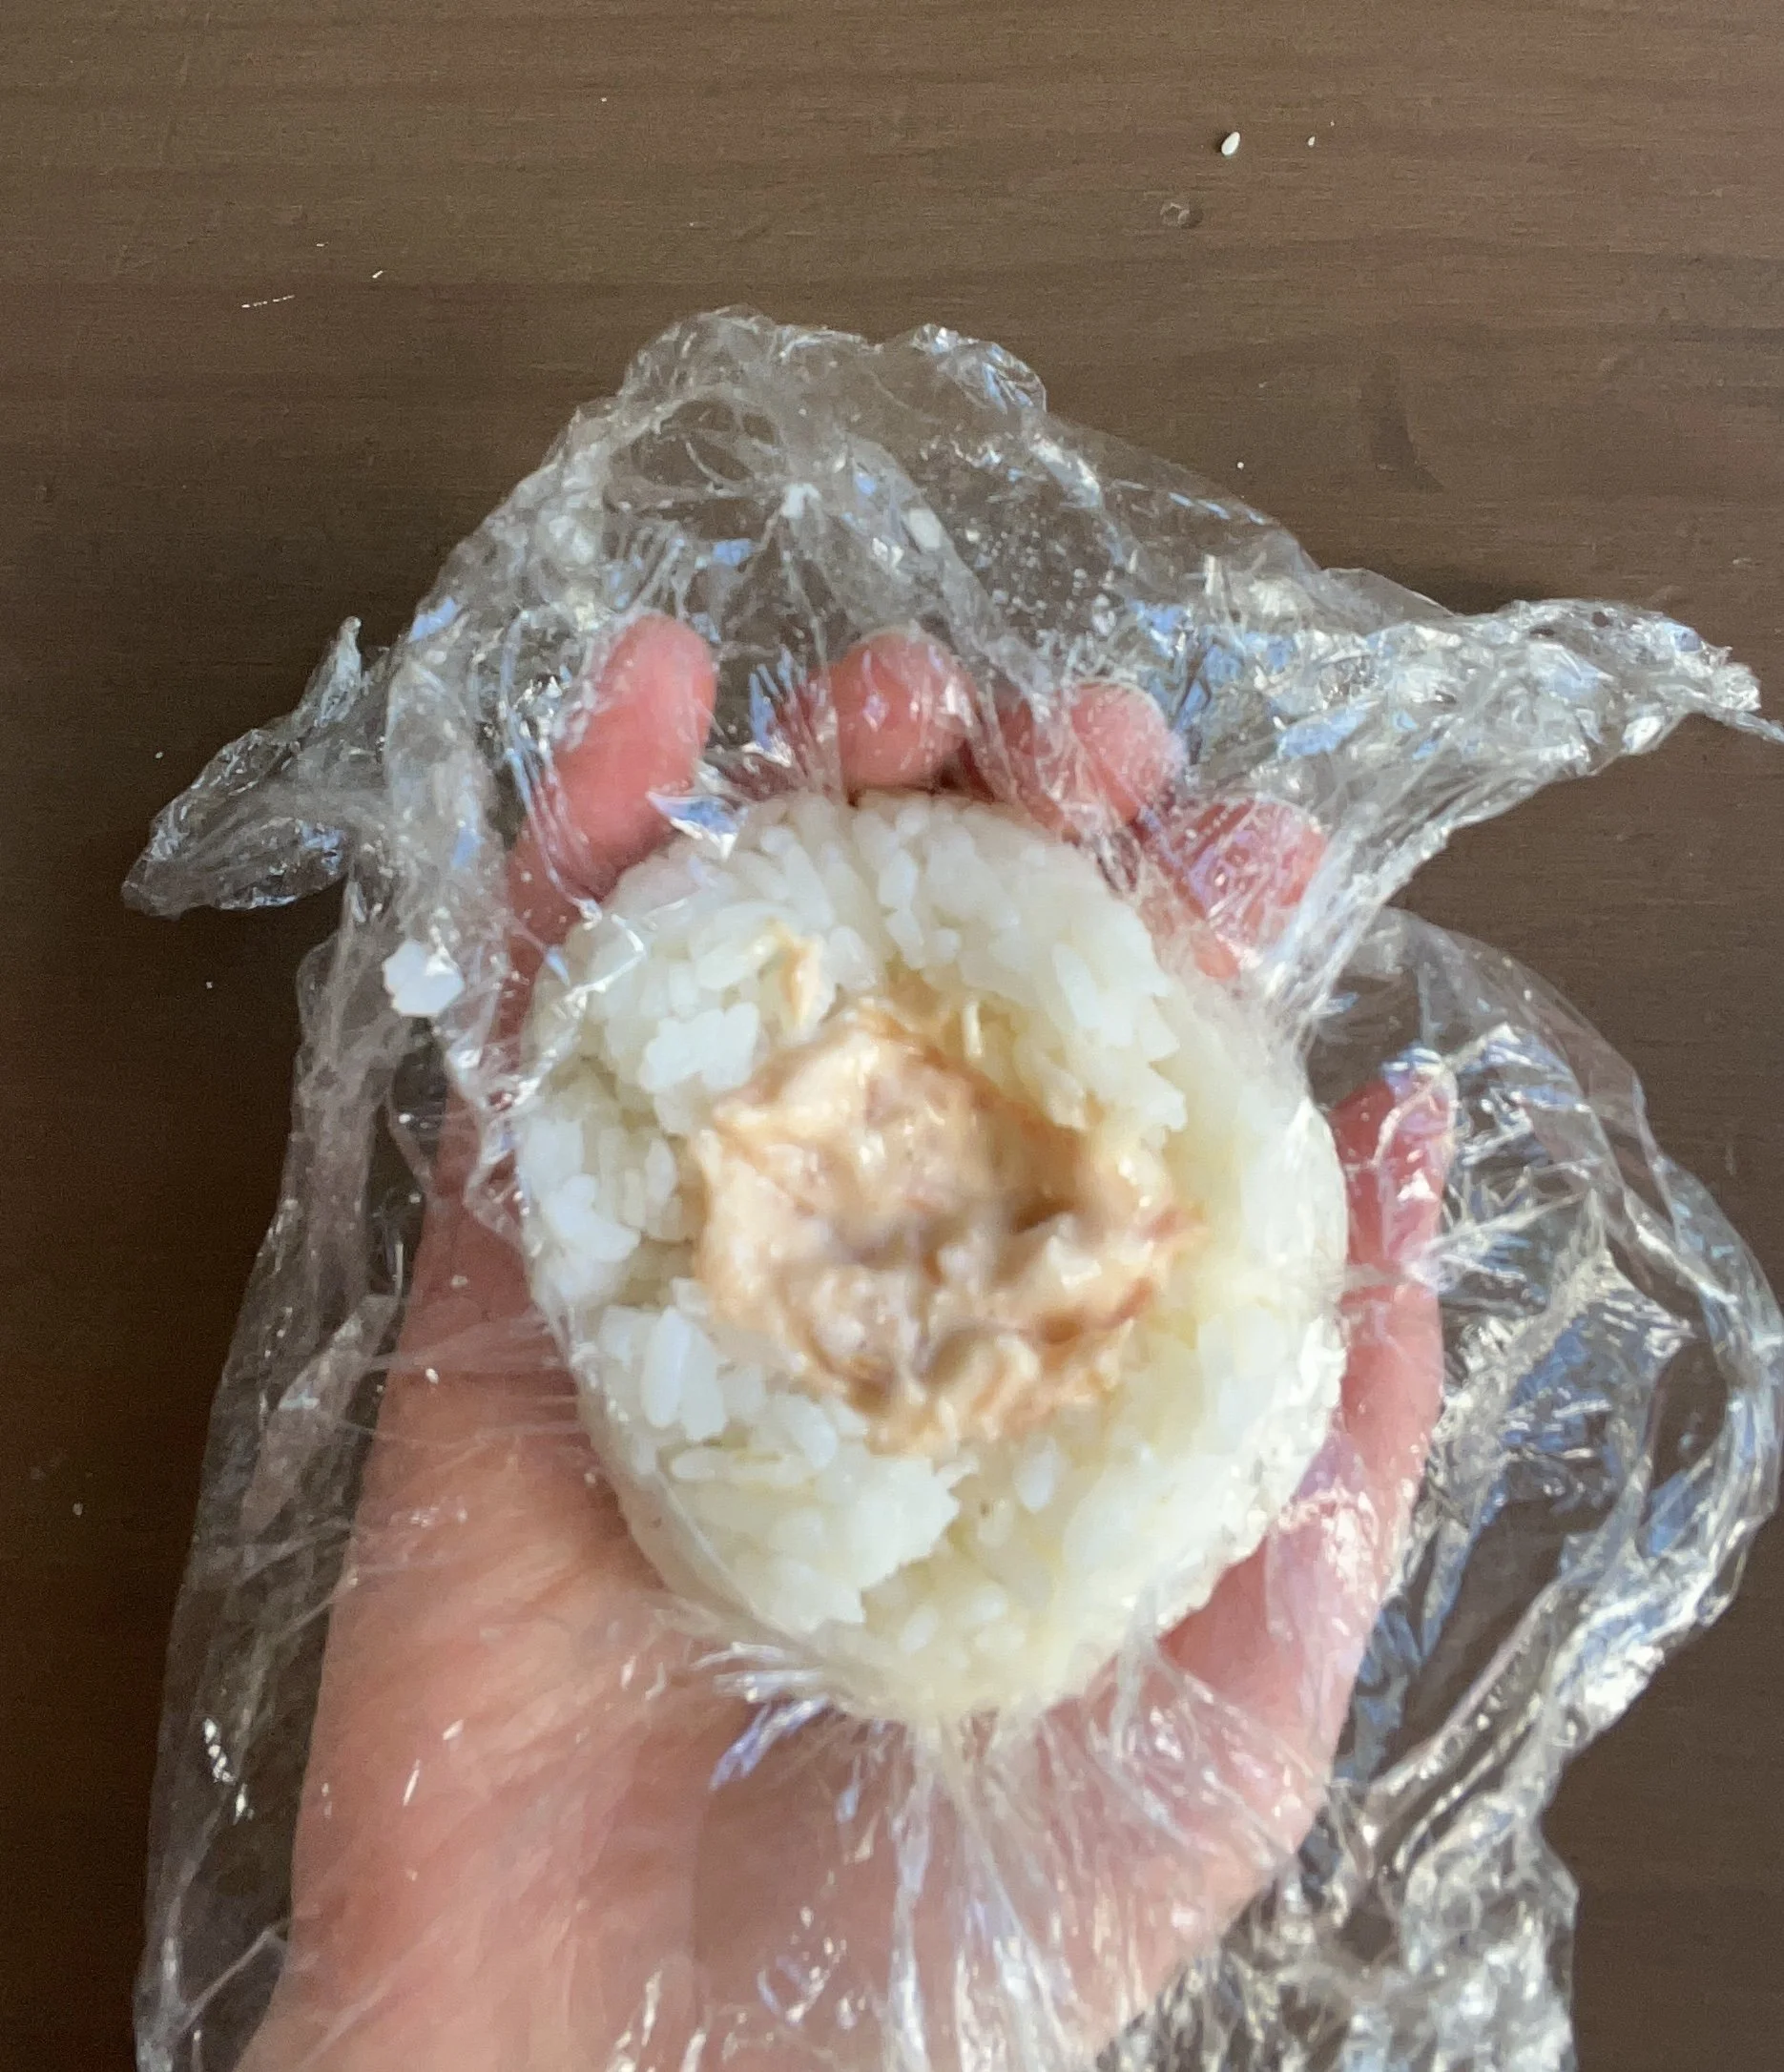
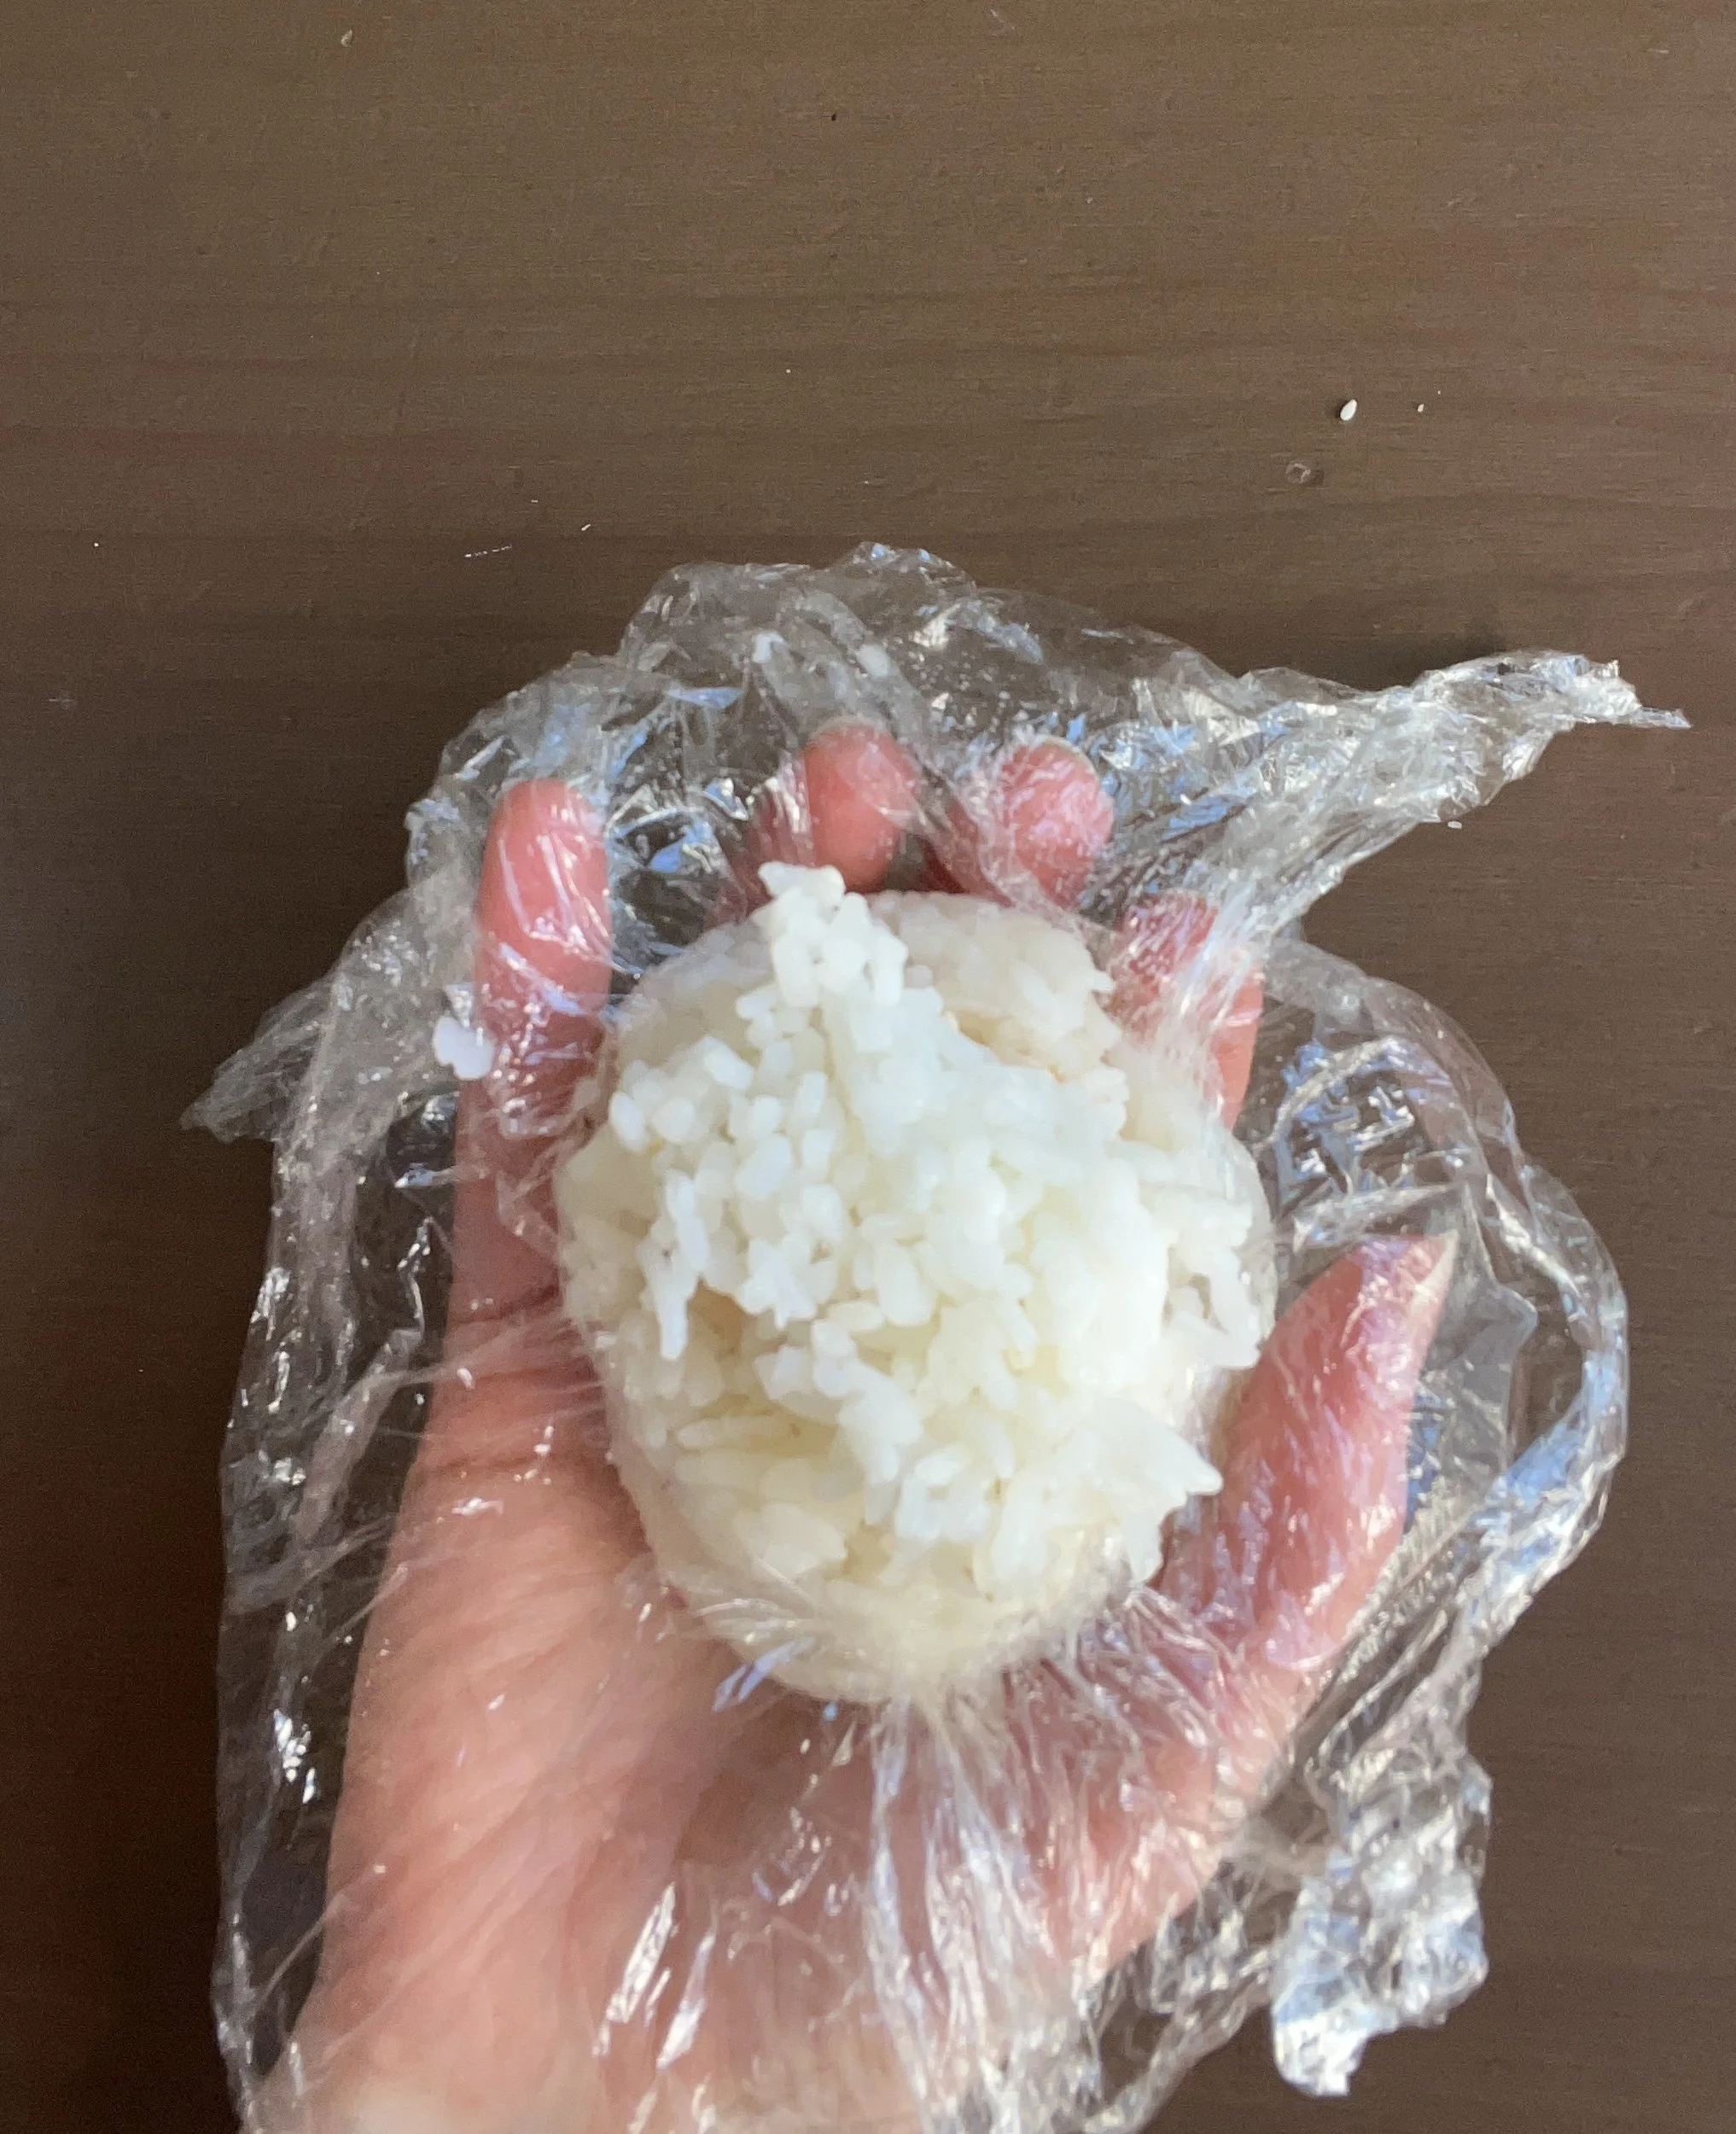
Press the onigiri into a ball first. Open the cling film slightly and use your finger to make a small hole in the rice, then add a spoonful of filling. Cover with a spoonful of rice to seal the hole, then twist the cling film closed again. Shape it again to make a ball.
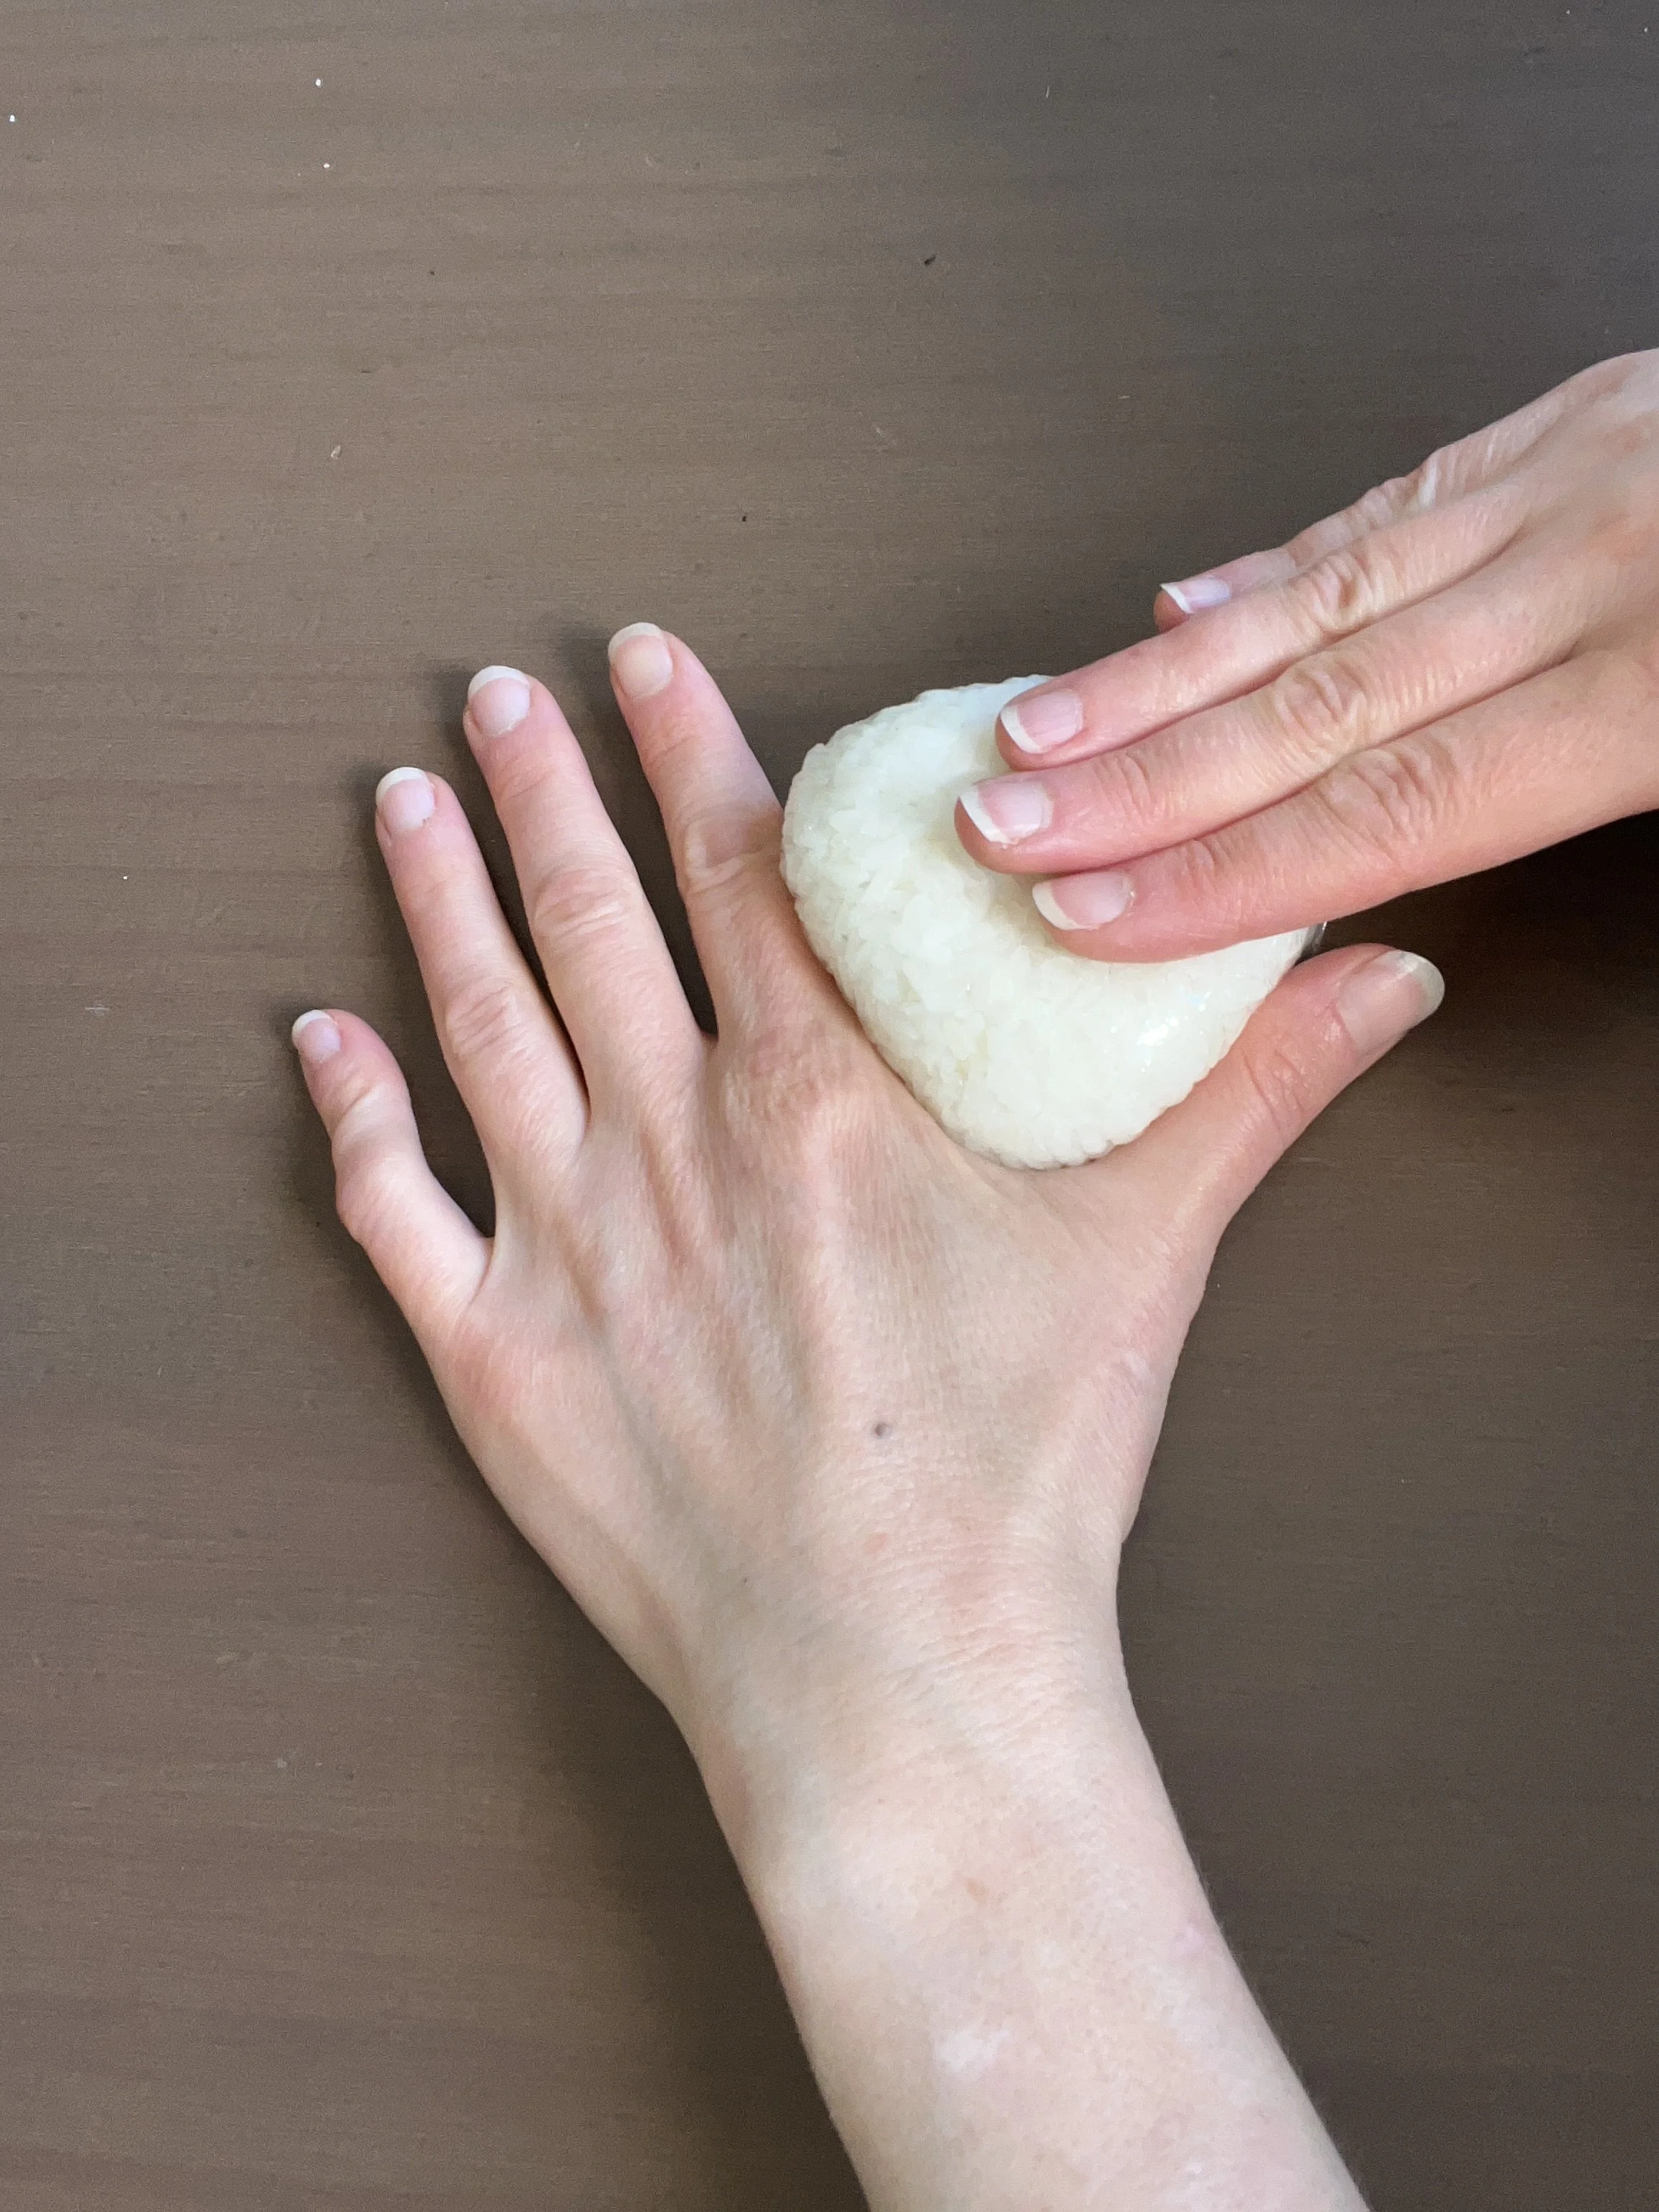
Begin shaping the triangle. You can start by flattening the onigiri slightly against the table. Leave about three centimetres of thickness. Use your hands to form the triangle shape: Use one hand to flatten and rotate the onigiri, and the other hand to form the triangle shape. A good technique is to use the angle between your thumb and index finger.
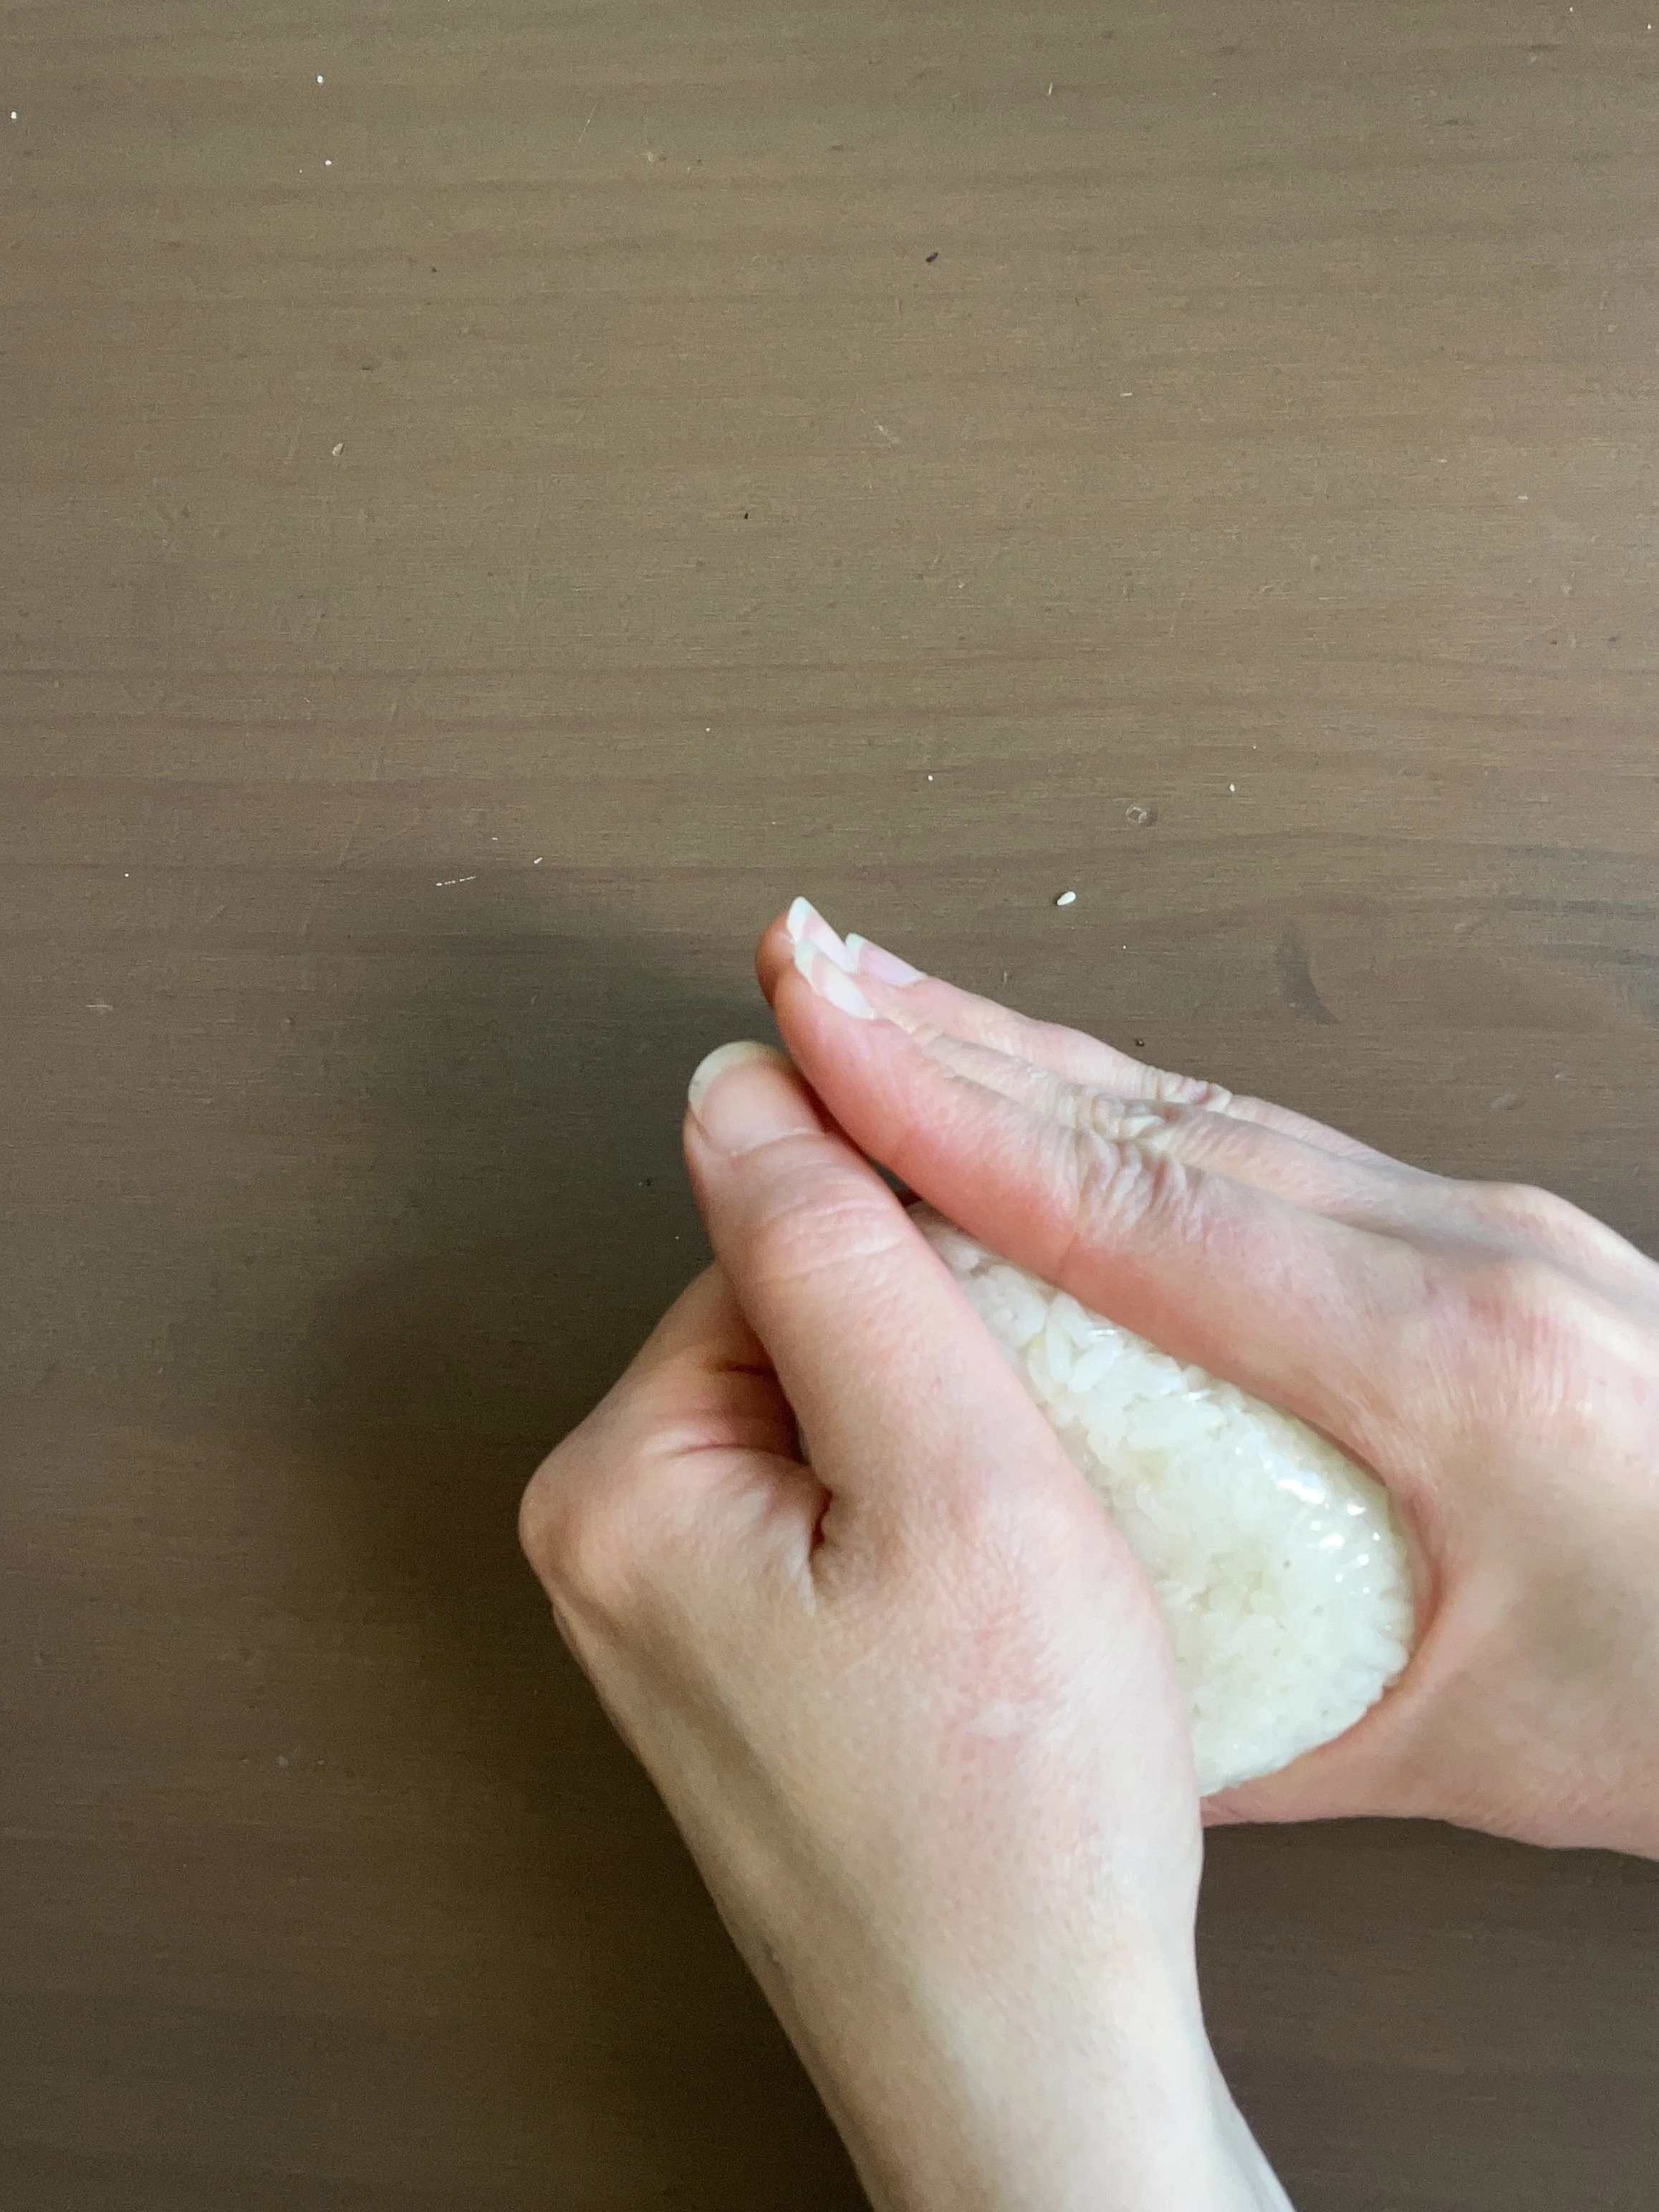
Hold the onigiri in one hand and rotate it, pressing each corner in turn into the V-shape between your thumb and index finger. Use your other hand to press the flat sides into shape. As you turn and press, the onigiri gradually takes on its triangular form and becomes more compact. Keep going until it feels firm all the way through. And just like that, your onigiri is ready to pack for lunch.
Just before eating, you can place a sheet of nori on one flat side. Or, if you love nori as much as I do, put a sheet on all three sides.
How to shape triangular onigiri
A triangular onigiri works really well as a lunch, especially if you make it a little larger. Small rice balls without filling are often just right for younger children.
When taking onigiri as packed lunch or snack on the go, pack them with an ice pack to keep them fresh.
Onigiri are quite straightforward to make. The biggest challenge is getting them firm enough. The right rice and good pressing technique are the keys to success.
Now go give it a try! If you do, come and leave a comment below.
Why onigiri is a great snack for kids:
Rice gives steady energy for active play and sports, without the sugar crash from processed snacks
Easy to digest, making it a gentle choice for younger children
Salmon and tuna fillings provide protein and omega-3 fatty acids that support brain development and concentration
Nori is surprisingly nutrient-dense, containing iodine, iron, and B vitamins including B12
Sesame seeds add calcium, healthy fats, and extra protein
Portable, not messy, and fun to eat
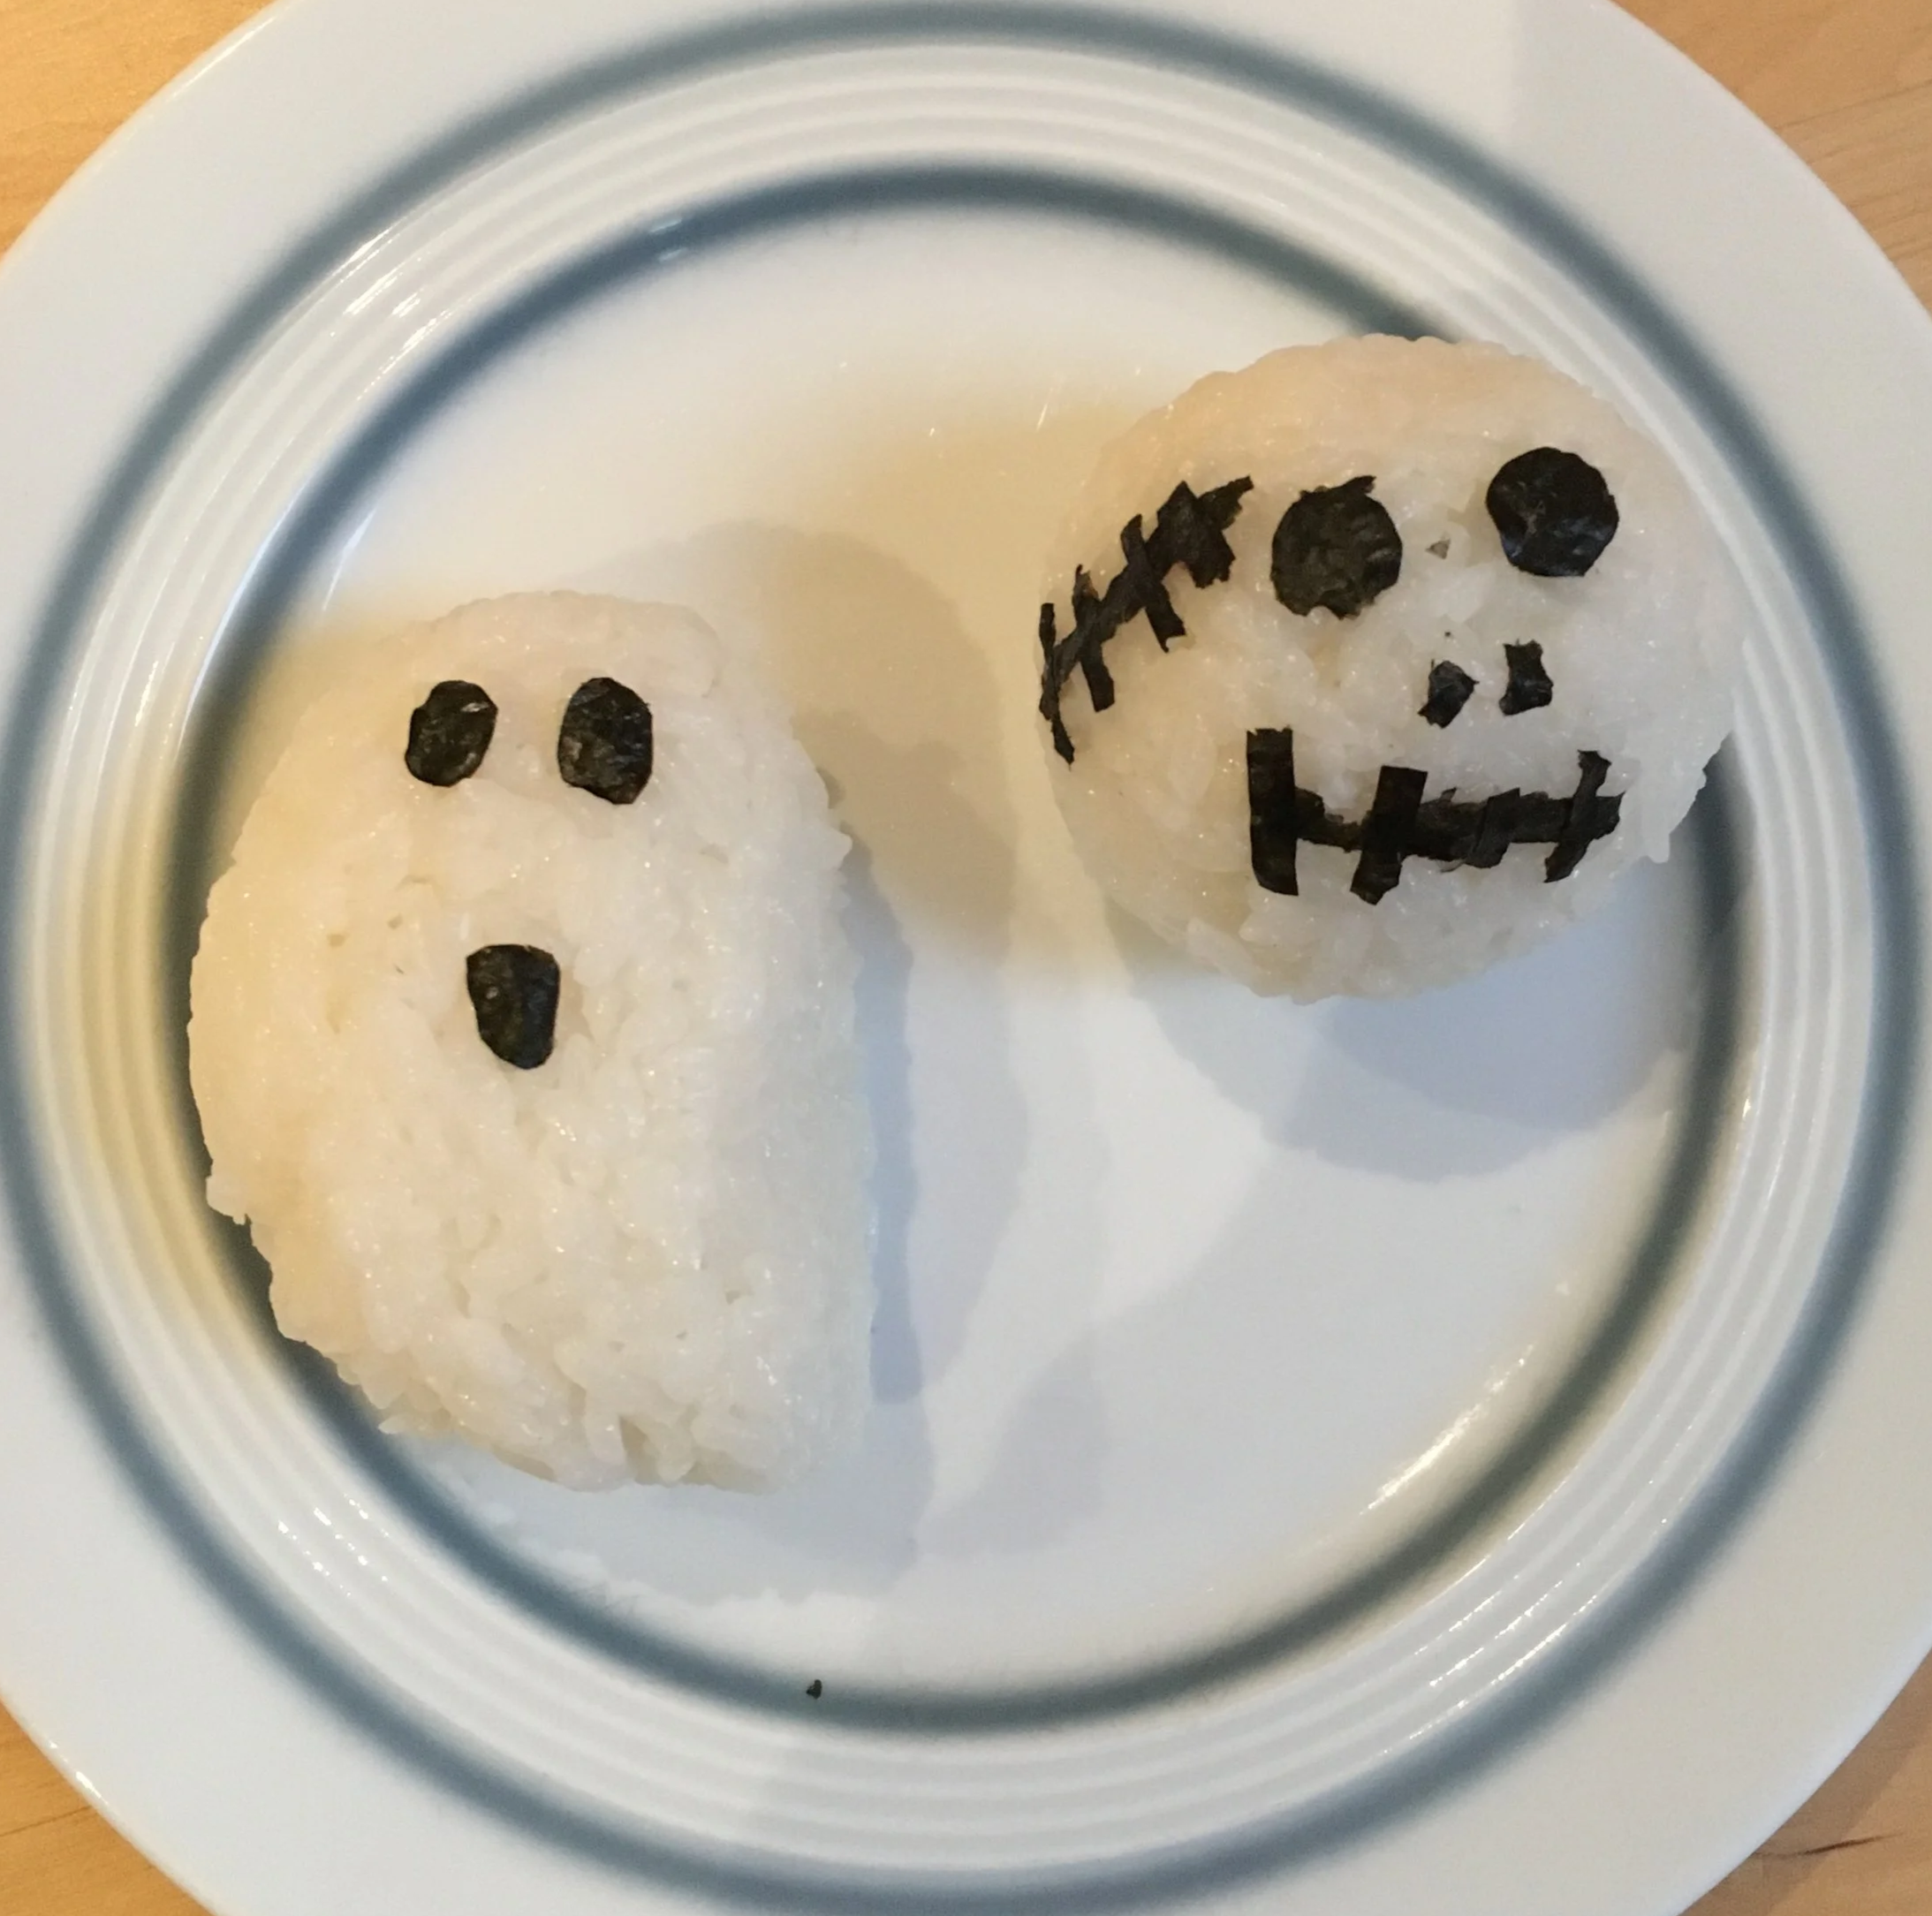
Halloween onigiri, when the kids were little and we had friends over for Halloween treats.
“One cannot think well, love well, sleep well, if one has not dined well.”
〰️
“One cannot think well, love well, sleep well, if one has not dined well.” 〰️
See my other Nutrition articles here


← Back to: Home
Learn which carbohydrates support energy, focus, and recovery for your whole family — including how fiber works and how to use the glycemic index in everyday meals.